Create Your First VM
This guide walks you through the process of creating your first virtual machine using Virtual Machine Orchestrator (VMO) installed on your cluster created with PaletteAI VM Launchpad. For learning purposes, this guide shows the steps to create a general-purpose VM (1 vCPU, 4 Gi memory) using an Ubuntu 24.04 ISO.
Prerequisites
-
A cluster created using the VM Launchpad. Refer to Install VM Launchpad for guidance.
-
Credentials to access the VMO Manager UI hosted on your cluster. You can use either Keycloak OIDC credentials or local admin credentials configured during cluster creation.
-
A storage class available in the cluster. VM Launchpad includes Piraeus/LINSTOR as the default storage backend, which creates storage classes during cluster deployment. Image upload is blocked until a storage class exists.
-
A Linux-based ISO to use as the base for your VM. This guide uses an Ubuntu 24.04 desktop ISO (
ubuntu-24.04.4-desktop-amd64.iso).
Upload ISO
Before you can create a VM, you must upload the OS ISO installer that you will use as the base for the BM. These ISOs are uploaded as KubeVirt Containerized Data Importer (CDI) DataVolume, which manages the storage and lifecycle of a VM disk image.
-
In your browser, go to
https://<host-ip>:5080. Replace<host-ip>with the IP address of your VM Launchpad host. If you have access to the VM Launchpad host terminal, the Local UI address is displayed on the terminal screen. If you changed the default port, replace5080with your configured Local UI port. -
Log in with the username and password you created during installation.
-
From the left main menu, select VM Orchestrator.
-
Log in to VMO using your Keycloak or local credentials. These credentials are configured from Local UI at Cluster > Configuration tab > Keycloak Admin or Local Admin.
-
From the left main menu, select Image Catalog > Golden Images.
-
Select Upload ISO/Golden Image.
-
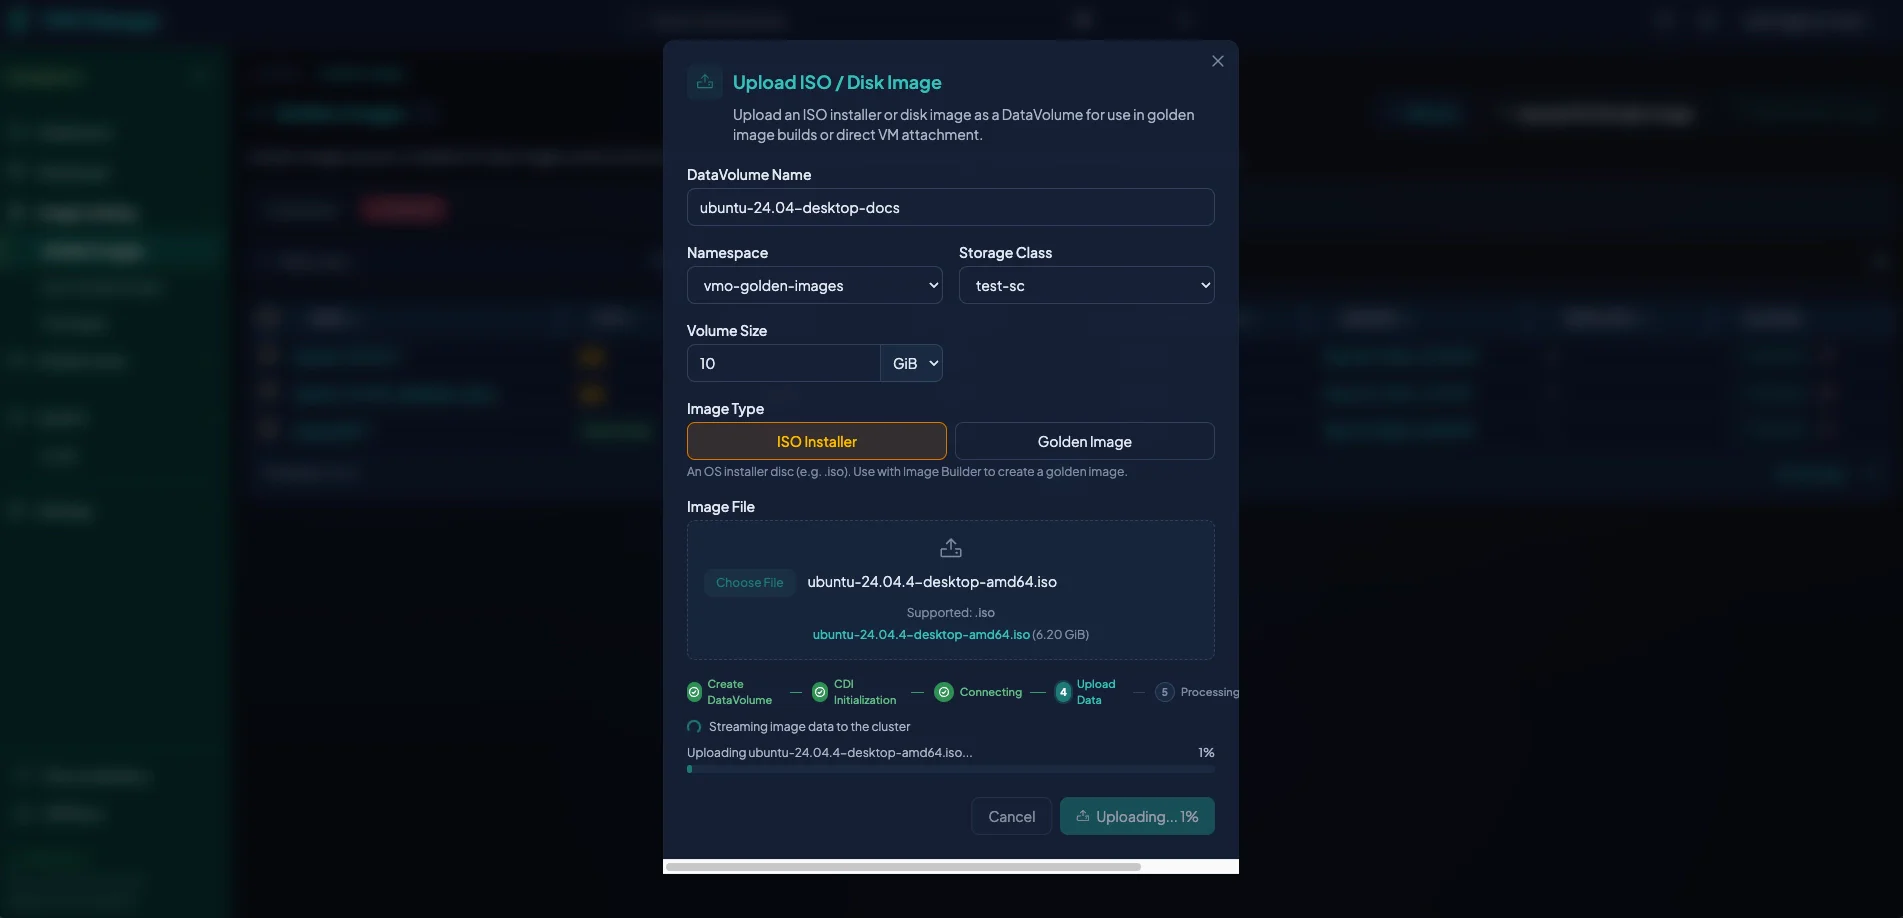
Complete the Upload ISO/Disk Image dialog with the following information.
Parameter Description DataVolume Name Enter a unique name for the OS ISO installer. For this guide, use a descriptive name such as ubuntu-2404-iso.Namespace Select the namespace to store your image in. The vmo-golden-imagesnamespace is created by default during cluster deployment and is the recommended location for ISO installers and golden images.Storage Class Select a storage class from the drop-down menu. The VM Launchpad includes Piraeus/LINSTOR as the default storage backend, which creates storage classes during cluster deployment. Select the available storage class. Volume Size Set the disk capacity for the DataVolume that stores the uploaded ISO. The size must be large enough to hold the ISO file. Specify the value in GiB or TiB. For an Ubuntu 24.04 desktop ISO, 8 GiB is sufficient. Image Type Select ISO Installer. Image File Select Choose File or drag and drop the file. ISO installer files use the ISO format. Golden image files use IMG or QCOW2 format. For this guide, we used a ubuntu-24.04.4-desktop-amd64.isofile. -
Select Upload. Large ISO files may take several minutes to upload. VMO displays the upload progress during the upload phase.
Create Your First VM
After your ISO is uploaded, you are ready to deploy a VM.
-
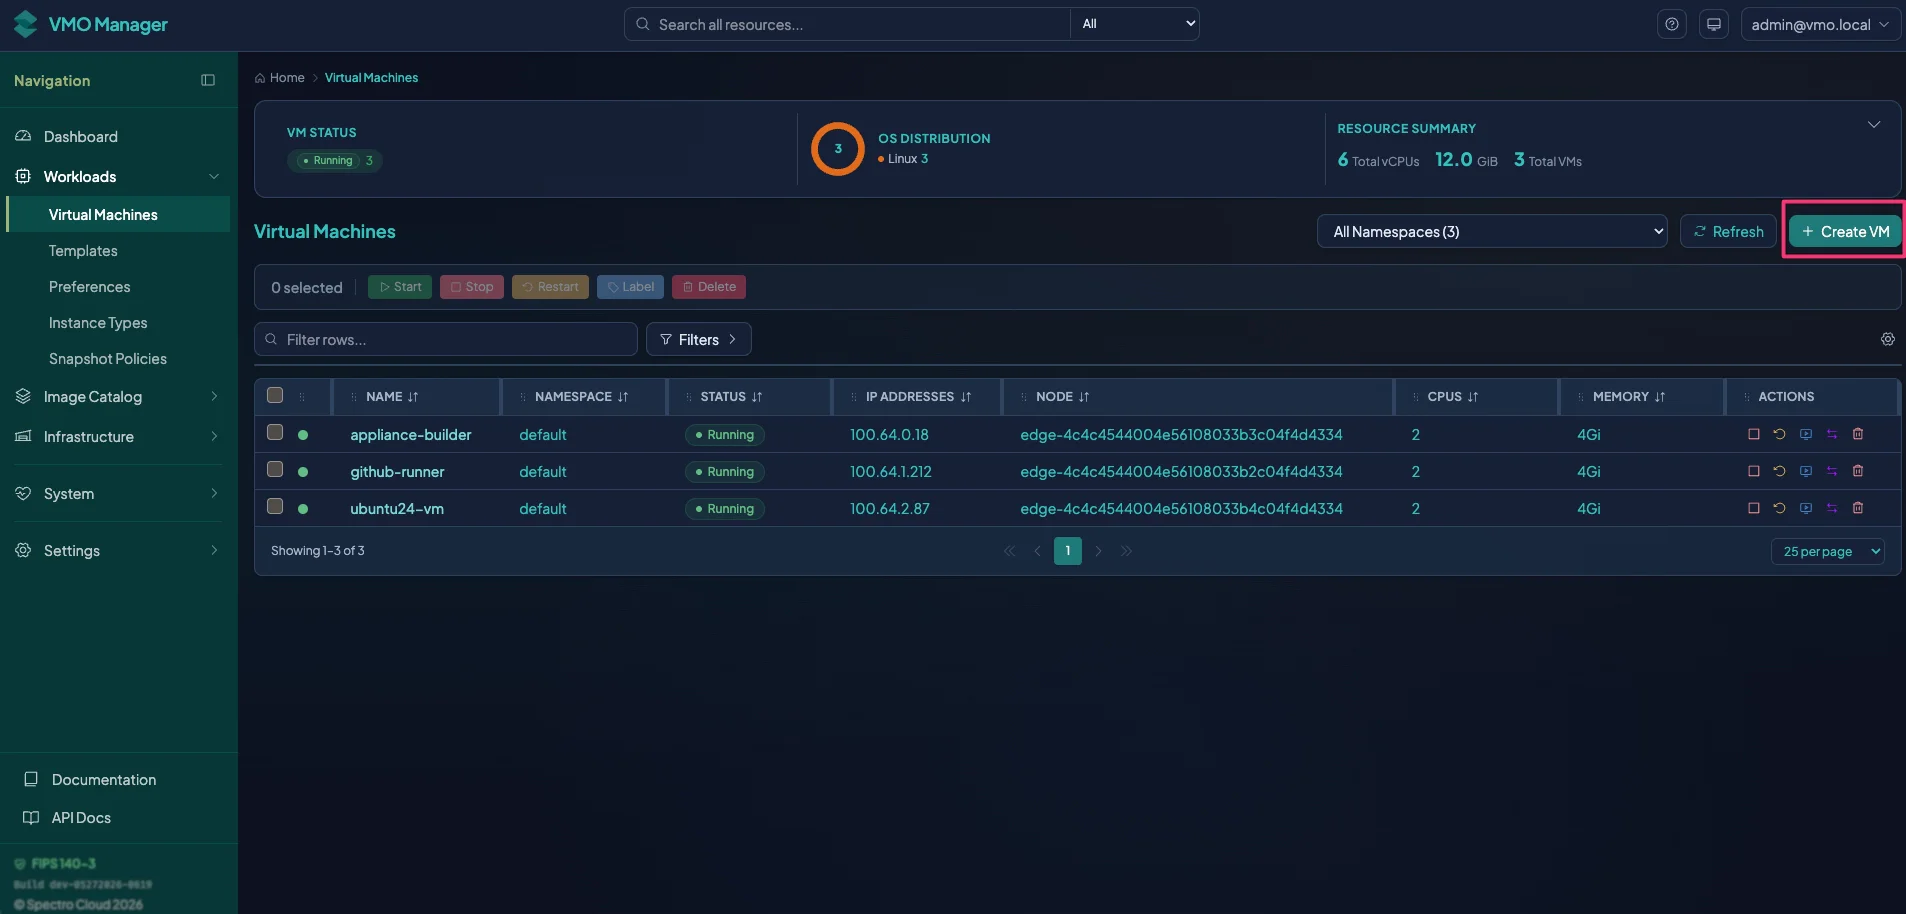
From the left main menu, select Workloads > Virtual Machines.
-
Select Create VM.
-
The Create Virtual Machine wizard opens. Complete the following fields on the Source wizard step.
Parameter Description Source Select Image/ISO. OS Select Linux. Namespace Select the namespace that contains your ISO. For this guide, select vmo-golden-imageswhere you uploaded your ISO.VM Name Enter a unique name for the VM. This field only accepts lowercase letters, numbers, and hyphens. The name must end with a letter or digit. This guide creates the VM in the same namespace as the ISO. You can only select an ISO or golden image from the namespace where the VM is created. To launch a VM in a different namespace than your ISO or golden image, create a template from the source first.
-
Leave the Batch Mode, VM Preference, Labels, and Annotations sections as is. Select Next.
-
On the Compute wizard step, select Instance Type.
Instance types are predefined CPU and memory profiles that standardize VM sizing. The
u1prefix indicates general-purpose types with balanced CPU and memory.warningIf you select an instance type during VM creation, you cannot change the CPU cores, CPU sockets, CPU threads, or memory individually. You can change the instance type after provisioning, but the new CPU and memory values do not take effect until you restart the VM.
-
Under General Purpose, select u1.medium (1 vCPU, 4 Gi memory). This instance type runs on hosts that meet the minimum hardware requirements for VM Launchpad clusters.
-
Leave the Scheduling section as is and select Next.
-
On the Storage wizard step, verify that a root disk is configured. The root disk is automatically populated from the ISO you selected in the Source step. Adjust the disk size if needed, then select Next.
-
On the Network wizard step, leave the default network configuration. The VM is assigned a pod network interface with masquerade mode by default. Select Next.
infoThe file server is available on the Pod Network (masquerade) network. If you need to install QEMU or other binaries, install them during the golden image build over the Pod Network (masquerade) network.
-
For this guide, no changes are needed to the Hardware and Lifecycle wizard steps. Select Finish to provision your VM.
Validate
-
From the left main menu of the VMO console, select Workloads > Virtual Machines.
-
Locate your VM in the list. The status column displays Provisioning while the VM is being created and changes to Running after the VM starts.
-
Select the VM to view its details, including IP address, the node the VM is running on, and metrics.
infoWhen the VM is running, you can change the CPU core count, CPU thread count, or memory, but you must restart the VM to apply the change. You can change the number of CPU sockets without restarting the VM, but this causes the VM to live migrate to another node in the cluster.
-
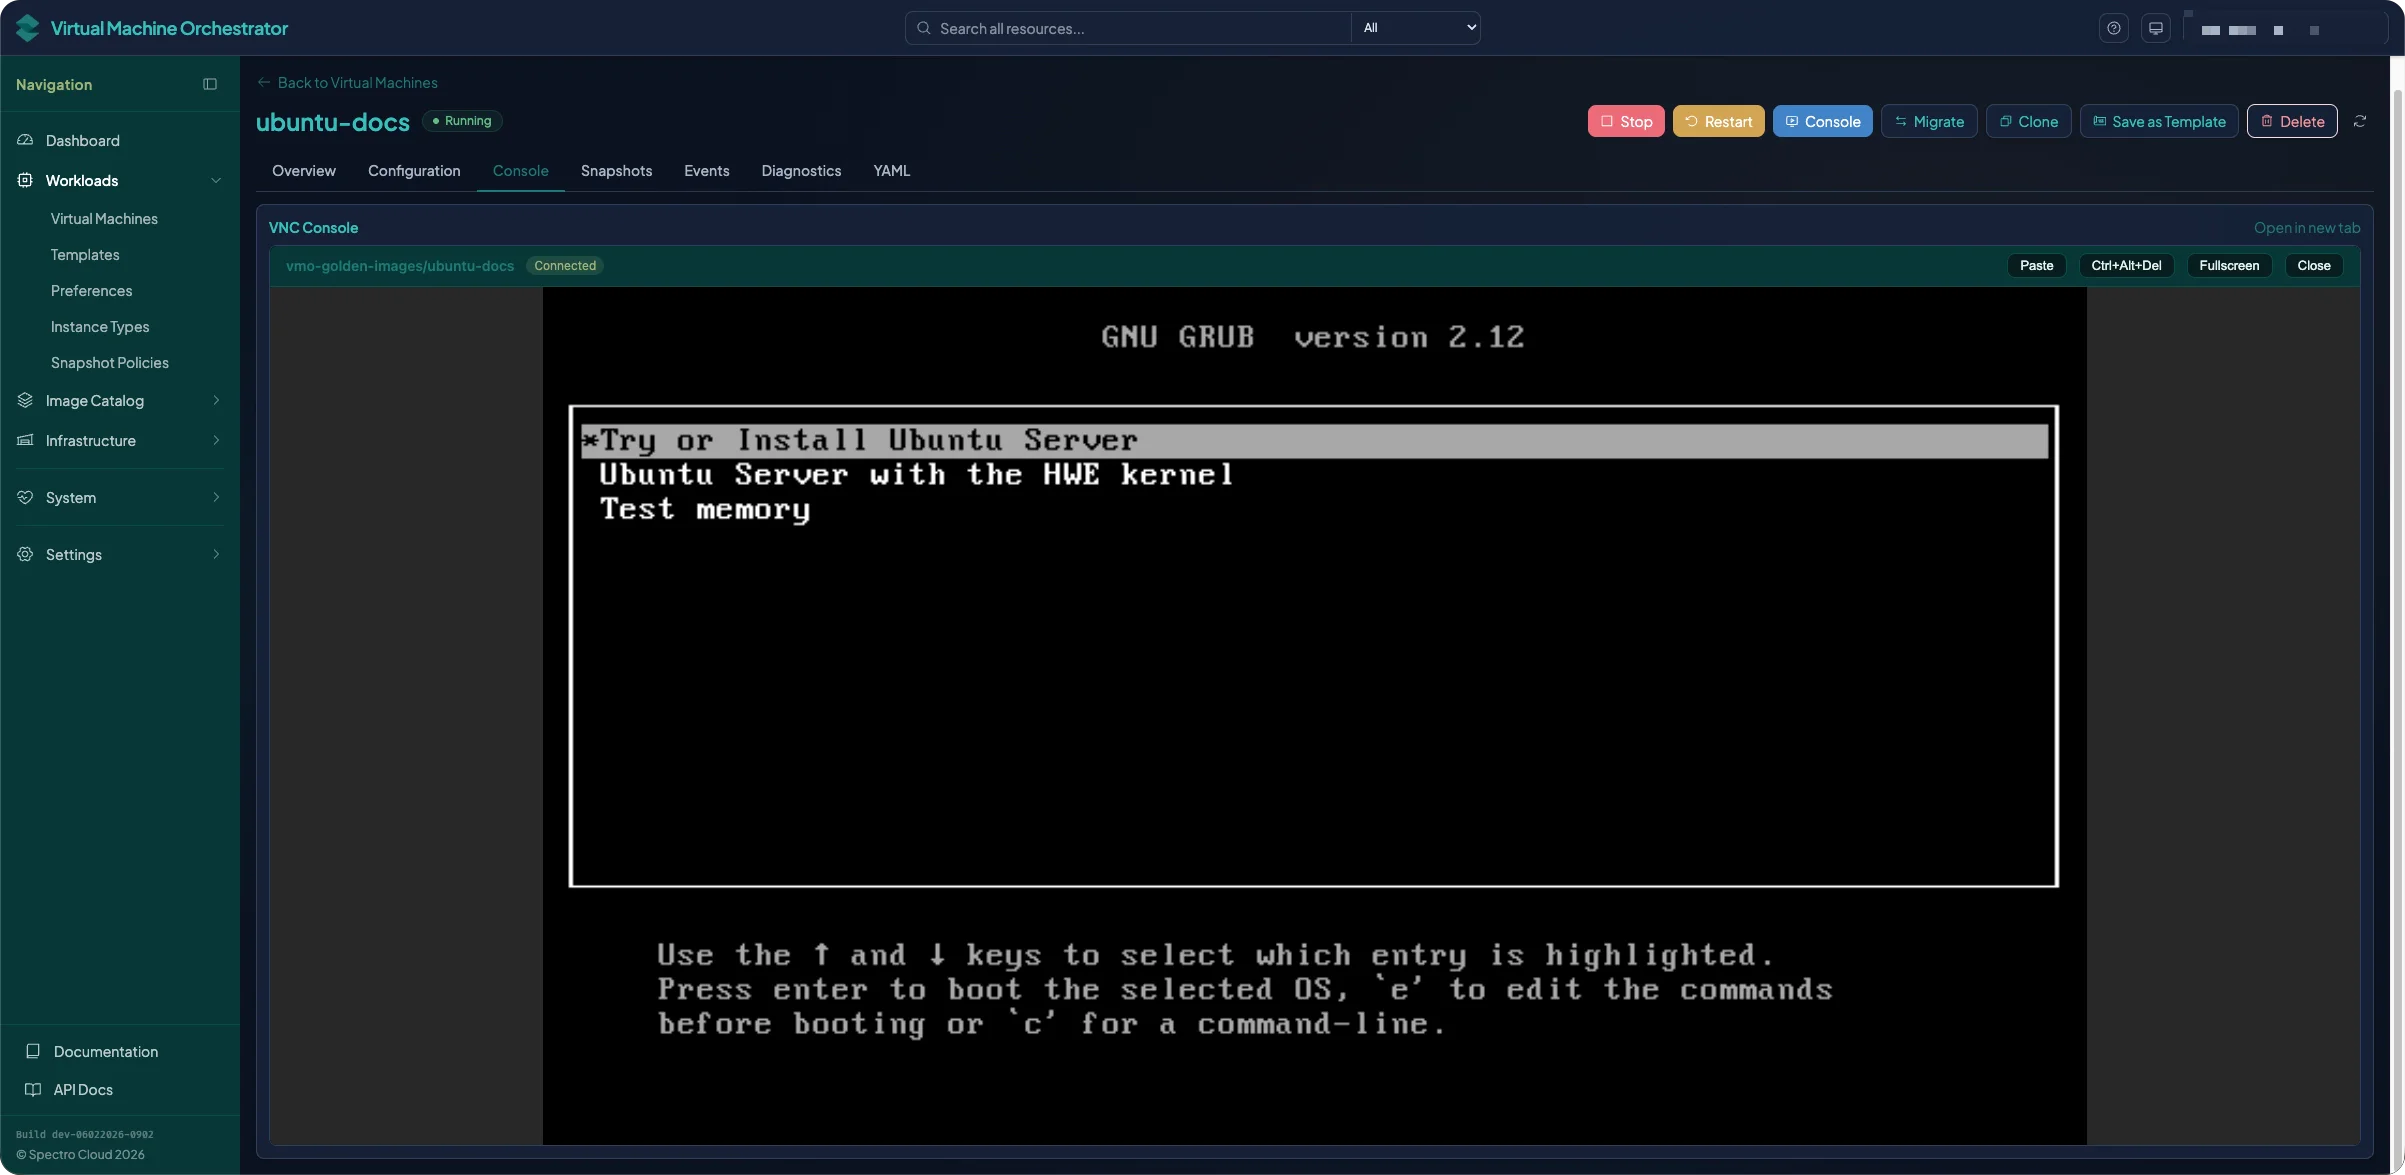
Select the Console tab to open a noVNC-based remote console. You can interact with the VM as if you were at its keyboard.