Add Roles and Role Bindings
You must configure permissions for actions that users can perform on Virtual Machines (VMs) deployed using Palette Virtual Machine Orchestrator (VMO), such as cloning, updating, and migrating VMs. You can do this by creating roles and cluster role bindings to determine access permissions. Refer to VM User Roles and Permissions for a list of Cluster Roles and equivalent Palette Roles. To learn more about role-based Access Control (RBAC) in Palette, review the RBAC and Namespace Support guide.
Prerequisites
-
A cluster profile with the Virtual Machine Orchestrator add-on pack configured. Check out the Create a VMO Profile guide to learn more.
- Configure OpenID Connect (OIDC) at the Kubernetes layer of your cluster profile to allow you to create role bindings that map individual users or groups assigned within the OIDC provider's configuration to a role. Refer to the Palette eXtended Kubernetes (PXK) pack additional guidance for more information.
-
Assigned permissions to access Palette clusters.
Add Roles and Role Bindings
-
Log in to Palette.
-
From the left main menu, click Clusters and select your cluster.
-
From the cluster Overview tab, download the Kubeconfig file. This file allows you to connect to your deployed cluster.
-
Open a terminal session and set the environment variable
KUBECONFIGto point to the file you downloaded.export KUBECONFIG=<path-to-downloaded-kubeconfig-file> -
Execute the following command to list all of the
ClusterRoletemplates that have been installed by the VMO pack. Palette provides the following four out-of-the-box Cluster roles for Palette Virtual Machine Orchestrator. Refer to the VM User Roles and Permissions to learn more about each role.kubectl get clusterroles | awk '{print $1}' | grep '^spectro-vm-'Expected outputspectro-vm-admin
spectro-vm-power-user
spectro-vm-user
spectro-vm-viewer -
Choose a cluster role based on the level of access that you require. We recommend choosing the lowest level of privilege required. Execute the following command to copy the contents of the template to a YAML file.
kubectl get clusterrole <cluster-role-name> --output yaml > role.yaml -
Open your manifest file with the editor of your choice and change the
kindtype toRole.Then, create a new
metadata.namespacefield and set it to a namespace of your choice.Finally, delete any other unnecessary metadata fields such as
metadata.resourceVersion,metadata.uid,metadata.creationTimestamp,metadata.helm.sh/chart,metadata.annotations, and allmetadata.app.kubernetes.iolabels.Save your changes and close your text editor.
Example role definitionapiVersion: rbac.authorization.k8s.io/v1
kind: Role
metadata:
namespace: default
name: spectro-vm-viewer -
Execute the following command to apply your configured role. This role grants the specified permissions in the specified namespace of your cluster.
kubectl apply --filename spectro-vm-viewer-role.yamlExpected outputrole.rbac.authorization.k8s.io/spectro-vm-viewer created -
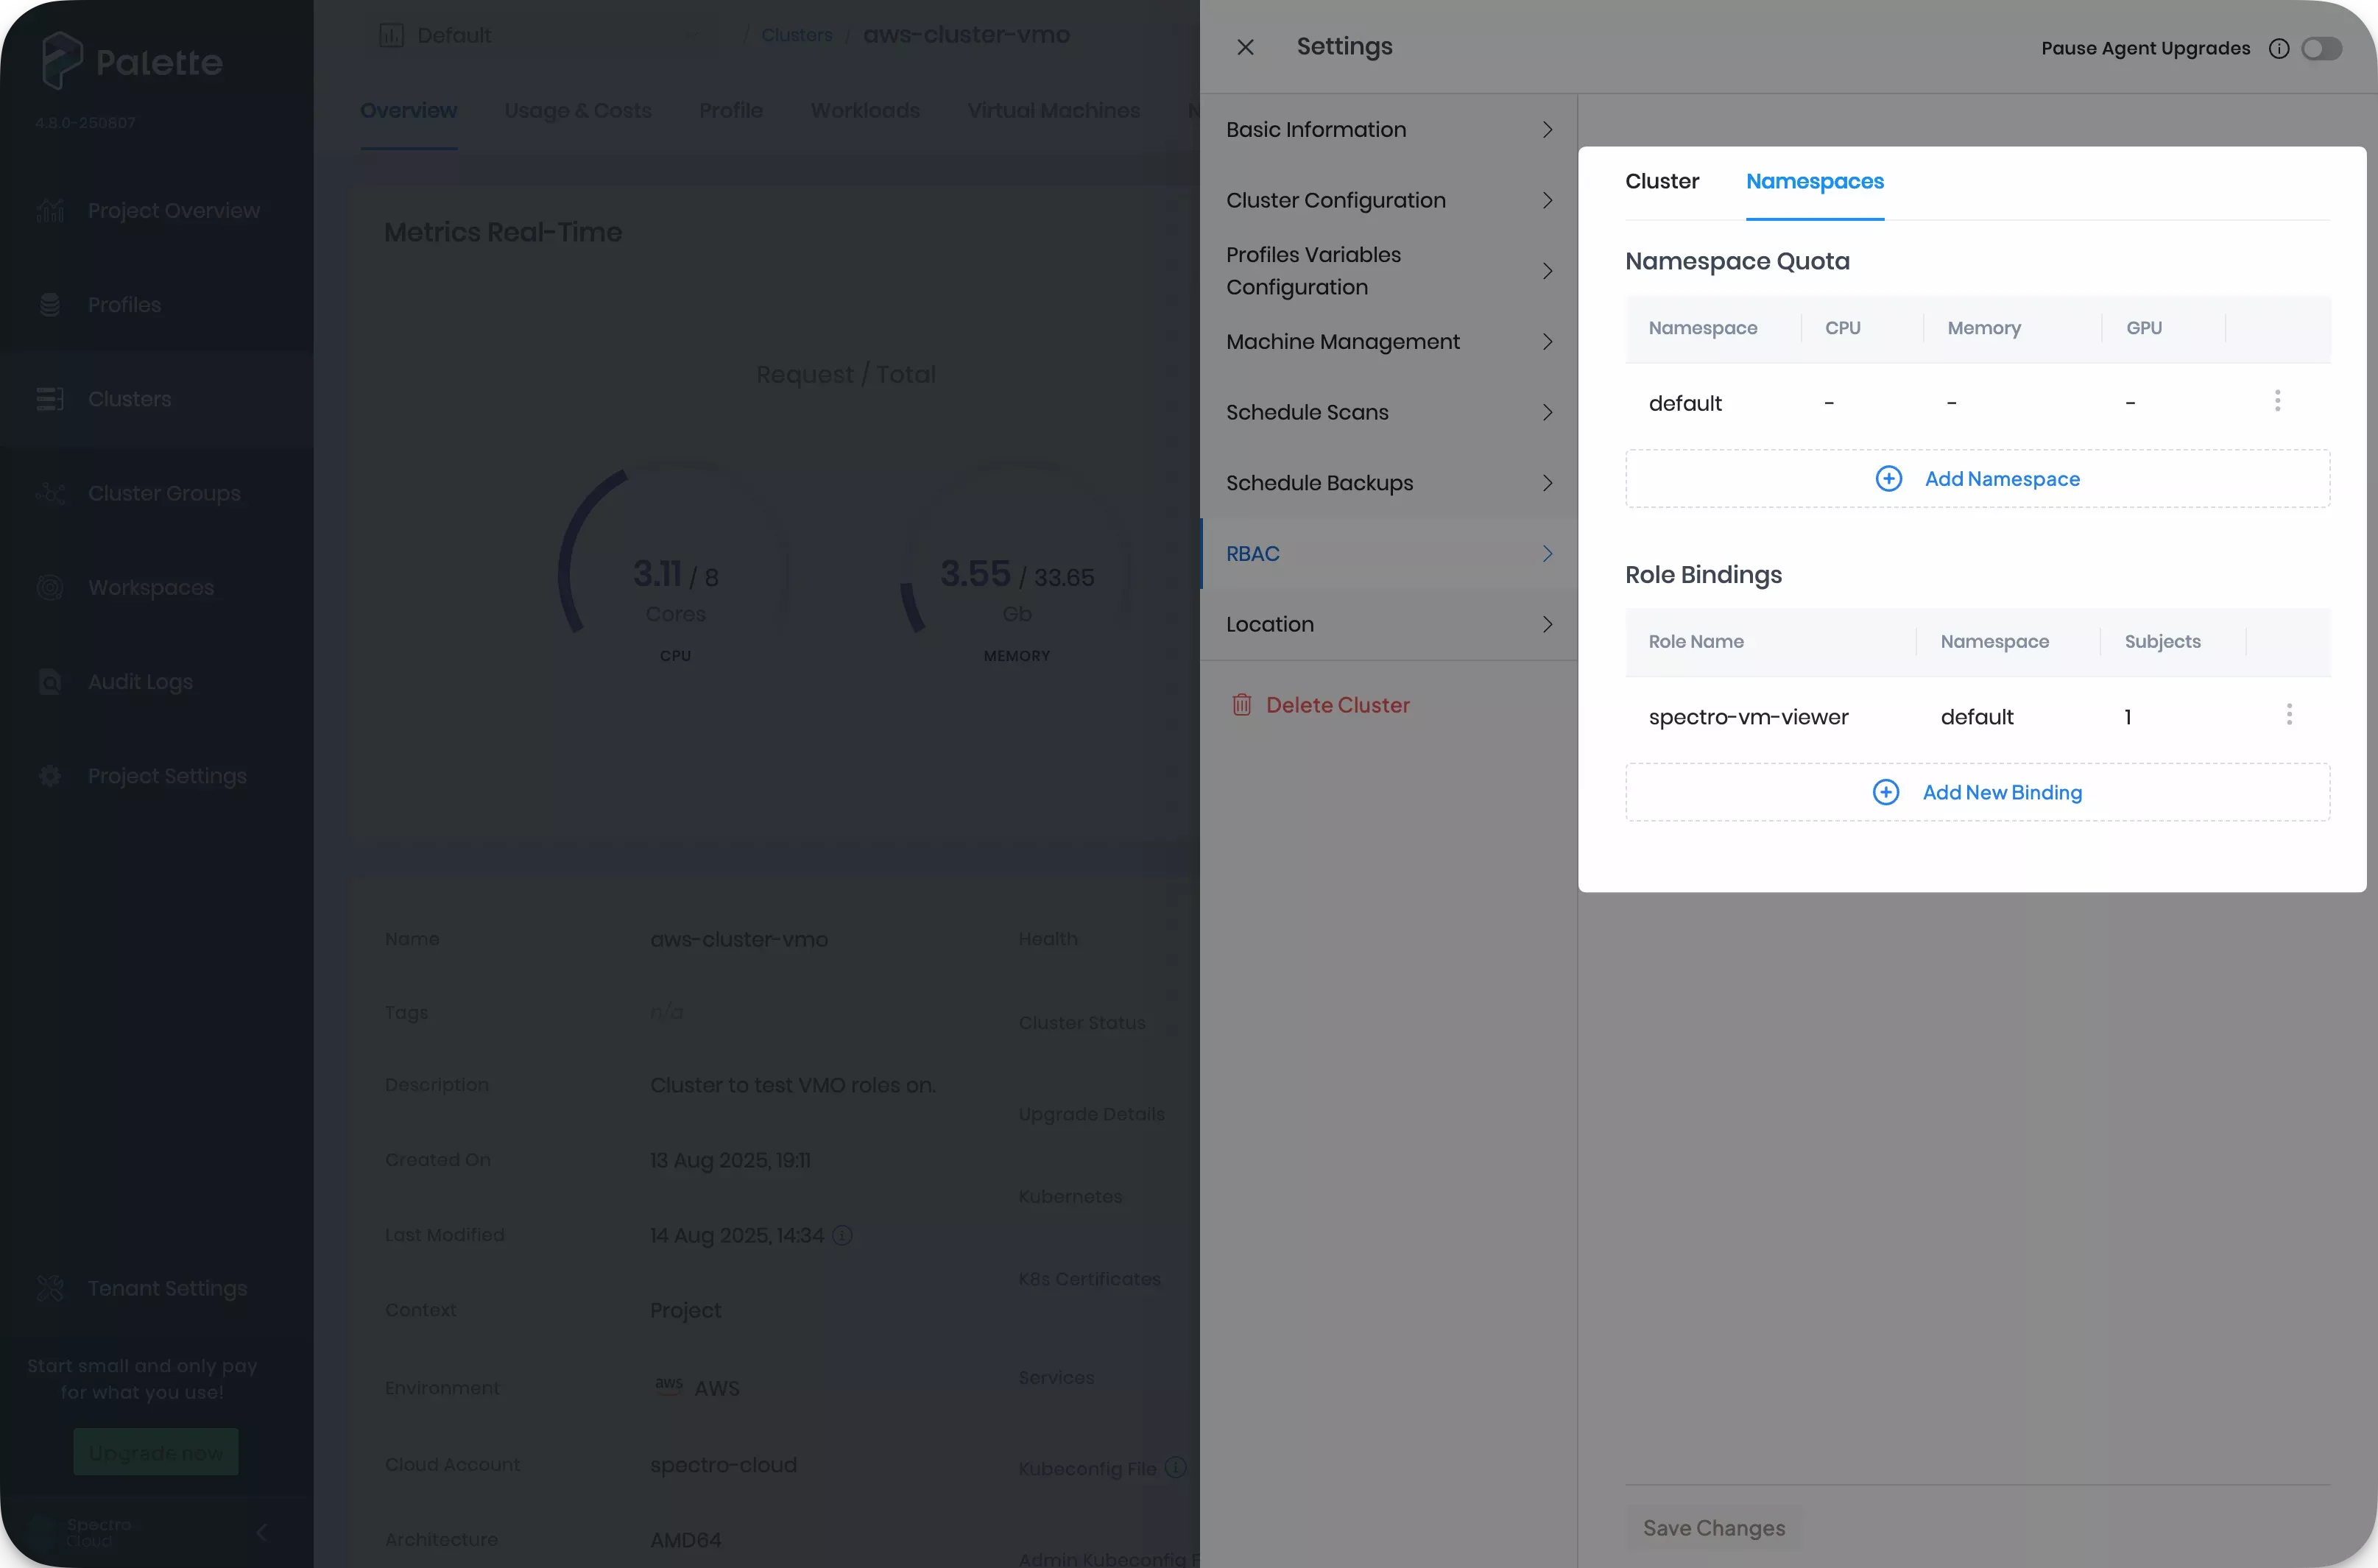
Return to Palette. Click on Settings and choose RBAC to add role bindings. Select the Namespaces tab.
-
Click Add namespace and fill in the details of the namespace you want to configure. You can also specify resource quotas. Click Confirm to save your configuration.
-
Click on Add New Binding under the Role Bindings section. Select the namespace you configured from the Namespace drop-down. Fill in the name of the role you defined in Step 8. Then, add a user, group, or service account name in the Subjects section. Refer the Create Role Bindings guide for further information. Click Confirm to update the cluster.
The cluster status displays as Upgrading on the Cluster Overview page. Upgrading can take several minutes depending on your environment. You can track events from the Events tab.
Validate
You can verify role creation and role binding is successful by following the steps below.
-
Use the following command to ensure the role binding was successful. The command outputs the name of namespace and name of your role binding, separated by a
/. Ensure that you are using the same terminal session where you set theKUBECONFIGenvironment variable to point to your cluster's kubeconfig file.ROLE_NAME=<role-name>
kubectl get rolebinding --all-namespaces --output jsonpath='{range .items[?(@.roleRef.name=="spectro-vm-viewer")]}{.metadata.namespace}/{.metadata.name}{"\n"}{end}'Example outputdefault/spectro-on-demand-16823991360055847390 -
Execute the following command to review the configuration of the role binding you created in the Palette UI.
kubectl describe rolebinding <role-binding-name> --namespace <namespace>Example outputName: spectro-on-demand-16823991360055847390
Labels: spectrocloud.com/clusterId=689cd541dd4d6d26c98e60c8
spectrocloud.com/clusterRbac=true
Annotations: <none>
Role:
Kind: Role
Name: spectro-vm-viewer
Subjects:
Kind Name Namespace
---- ---- ---------
User user@example.com
Next Steps
Now you are ready to deploy a VM. Review the Deploy VM From a Template guide to get started with the deployment process.