Palette Upgrade
We recommend you review the Release Notes and the Upgrade Notes before attempting to upgrade Palette. Use this information to address common issues that may occur during an upgrade.
Self-Hosted Palette or Palette VerteX Upgrade Hangs
Upgrading self-hosted Palette or Palette VerteX from version 4.6.x to 4.7.x can cause the upgrade to hang if any member of a MongoDB ReplicaSet is not fully synced and in a healthy state prior to the upgrade.
Debug Steps
To verify the health status of each MongoDB ReplicaSet member, use the following procedure based on whether you are upgrading Palette or Palette VerteX.
-
Log in to the Palette or Palette VerteX system console.
-
From the left main menu, select Enterprise Cluster.
-
On the Overview tab, download the Kubernetes Config File.
-
Open a terminal window and set the environment variable
KUBECONFIGto point to kubeconfig file you downloaded.Example commandexport KUBECONFIG=~/Downloads/spectro-mgmt-cluster.kubeconfig
- Palette
- Palette VerteX
-
Issue the following command to query the ReplicaSet for its current primary host, extract the Pod name, and save its value as
MONGO_PRIMARY.infoThe values for
MONGODB_INITDB_ROOT_USERNAMEandMONGODB_INITDB_ROOT_PASSWORDdo not need to be exported, as they are already defined within the MongoDB Pods.MONGO_PRIMARY=$(
kubectl exec \
--namespace hubble-system \
mongo-1 \
--container mongo \
-- \
mongosh \
--username "$MONGODB_INITDB_ROOT_USERNAME" \
--password "$MONGODB_INITDB_ROOT_PASSWORD" \
admin \
--quiet \
--eval "print(JSON.stringify(rs.hello()))" \
| jq --raw-output .primary \
| awk -F. '{print $1}'
) -
Issue the following command to connect to the primary Pod and print each ReplicaSet member’s host, state, and health status.
kubectl exec \
   --namespace hubble-system \
   "${MONGO_PRIMARY}" \
   --container mongo \
   -- bash -c \
   'mongosh \
      --username "$MONGO_INITDB_ROOT_USERNAME" \
      --password "$MONGO_INITDB_ROOT_PASSWORD" \
      --host "$HOSTNAME" \
      admin \
      --quiet \
--eval "rs.status().members.forEach(m => printjson({host:m.name,state:m.stateStr,health:m.health}))"'
All healthy members should have a
healthstatus of1. If the ReplicaSet members are healthy, proceed with upgrading self-hosted Palette or VerteX.Example output{
host: 'mongo-1.mongo.hubble-system.svc.cluster.local:27017',
state: 'PRIMARY',
health: 1
}
{
host: 'mongo-0.mongo.hubble-system.svc.cluster.local:27017',
state: 'SECONDARY',
health: 1
}
{
host: 'mongo-2.mongo.hubble-system.svc.cluster.local:27017',
state: 'SECONDARY',
health: 1
}
-
Issue the following command to query the ReplicaSet for its current primary host, extract the Pod name, and save its value as
MONGO_PRIMARY.infoThe values for
MONGODB_INITDB_ROOT_USERNAMEandMONGODB_INITDB_ROOT_PASSWORDdo not need to be exported, as they are already defined within the MongoDB Pods.MONGO_PRIMARY=$(
kubectl exec \
--namespace hubble-system \
mongo-1 \
--container mongo \
-- bash -c \
'mongosh \
--username "$MONGODB_INITDB_ROOT_USERNAME" \
--password "$MONGODB_INITDB_ROOT_PASSWORD" \
--host "$HOSTNAME" \
--tls \
--tlsCAFile /var/mongodb/tls/ca.crt \
--tlsCertificateKeyFile /var/mongodb/tls/tls-combined.pem \
--tlsAllowInvalidHostnames \
admin \
--quiet \
--eval "print(JSON.stringify(rs.isMaster()))"'
) | jq --raw-output .primary | awk -F. '{print $1}' -
Issue the following command to connect to the primary Pod and print each ReplicaSet member’s host, state, and health status.
kubectl exec \
   --namespace hubble-system \
   "${MONGO_PRIMARY}" \
   --container mongo \
   -- bash -c \
      'mongosh \
         --username "$MONGODB_INITDB_ROOT_USERNAME" \
         --password "$MONGODB_INITDB_ROOT_PASSWORD" \
         --host "$HOSTNAME" \
         --tls \
         --tlsCAFile /var/mongodb/tls/ca.crt \
         --tlsCertificateKeyFile /var/mongodb/tls/tls-combined.pem \
         --tlsAllowInvalidHostnames \
         admin \
         --quiet \
         --eval "rs.status().members.forEach(m => printjson({host:m.name,state:m.stateStr,health:m.health}))"'
All healthy members should have a
healthstatus of1. If the ReplicaSet members are healthy, proceed with upgrading self-hosted Palette or VerteX.Example output{
host: 'mongo-1.mongo.hubble-system.svc.cluster.local:27017',
state: 'PRIMARY',
health: 1
}
{
host: 'mongo-0.mongo.hubble-system.svc.cluster.local:27017',
state: 'SECONDARY',
health: 1
}
{
host: 'mongo-2.mongo.hubble-system.svc.cluster.local:27017',
state: 'SECONDARY',
health: 1
}
Ingress Errors
If you receive the following error message when attempting to upgrade to Palette versions greater than Palette 3.4.X in a Kubernetes environment, use the debugging steps to address the issue.
Error: UPGRADE FAILED: failed to create resource: admission webhook "validate.nginx.ingress.kubernetes.io" denied the request: host "_" and path "/v1/oidc" is already defined in ingress default/hubble-auth-oidc-ingress-resource
Debug Steps
-
Connect to the cluster using the cluster's kubeconfig file. Refer to the Access Cluster with CLI for additional guidance.
-
Identify all Ingress resources that belong to Hubble - an internal Palette component.
kubectl get ingress --namespace default -
Remove each Ingress resource listed in the output that starts with the name Hubble. Use the following command to delete an Ingress resource. Replace
REPLACE_MEwith the name of the Ingress resource you are removing.kubectl delete ingress --namespace default <REPLACE_ME> -
Restart the upgrade process.
Mongo DNS ConfigMap Value is Incorrect
In VMware vSphere VerteX installations, if you encounter an error during the upgrade process where the MongoDB DNS ConfigMap value is incorrect, use the following steps to resolve the issue.
Debug Steps
-
Open up a terminal session in an environment that has network access to the Kubernetes cluster. Refer to the Access Cluster with CLI for additional guidance.
-
Verify that the pods in the
hubble-systemnamespace are not starting correctly by issuing the following command.kubectl get pods --namespace=hubble-system -
Verify that the ConfigMap for the
configserverin thehubble-systemnamespace contains the incorrect host valuemongo-1.mongohubble-system.svc.cluster. Use the following command to describe the ConfigMap and search for the host value.kubectl describe configmap configserver --namespace hubble-system | grep hosthost: mongo-0.mongo.hubble-system.svc.cluster.local,mongo-1.mongohubble-system.svc.cluster.local,mongo-2.mongo.hubble-system.svc.cluster.local
host: '0.0.0.0'
host: '0.0.0.0'
host: '0.0.0.0'
host: '0.0.0.0'
host: '0.0.0.0'
host: '0.0.0.0'
host: '0.0.0.0'
host: '0.0.0.0'
host: '0.0.0.0'
host: '0.0.0.0'
host: '0.0.0.0'
host: '0.0.0.0' -
If the host value is incorrect, log in to the System Console. You can find guidance on how to access the System Console in the Access the System Console documentation.
-
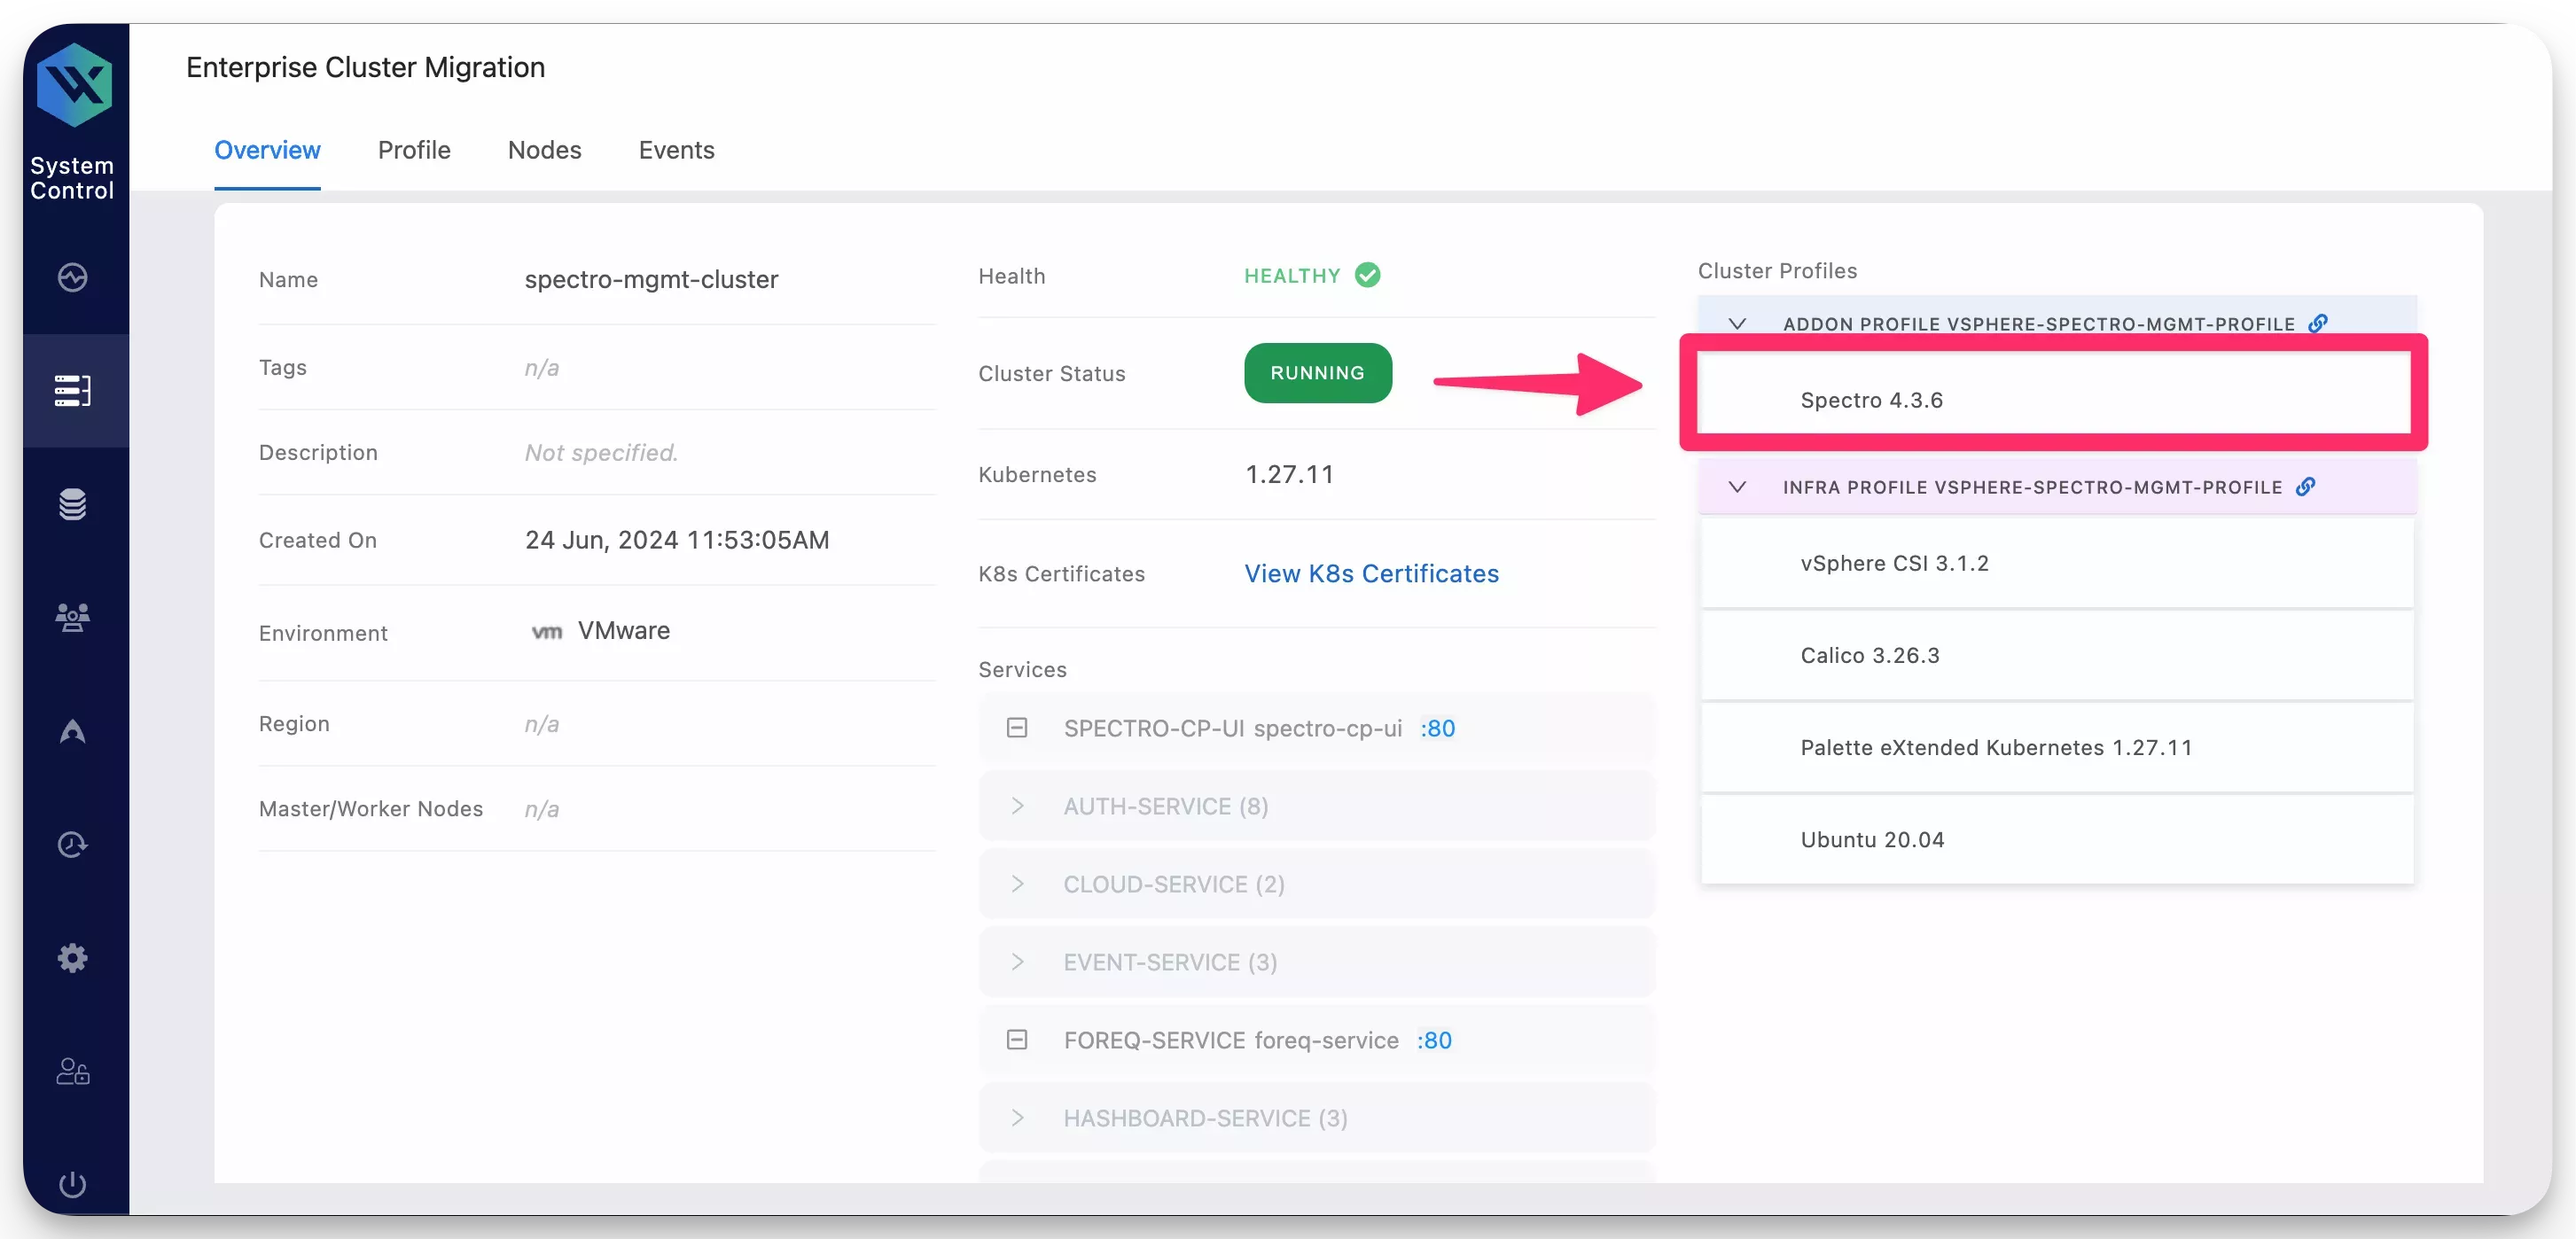
Navigate to the Main Menu and select Enterprise Cluster. From the System Profiles page, select the Spectro pack.
-
In the YAML editor, locate the parameter
databaseUrland update the valuemongo-1.mongohubble-system.svc.cluster.localtomongo-1.mongo.hubble-system.svc.cluster.local.Below is what the updated
databaseUrlvalue should look like.databaseUrl: "mongo-0.mongo.hubble-system.svc.cluster.local,mongo-1.mongo.hubble-system.svc.cluster.local,mongo-2.mongo.hubble-system.svc.cluster.local" -
Click Save to apply the changes.
-
Verify the system pods are starting correctly by issuing the following command.
kubectl get pods --namespace=hubble-systemNAME READY STATUS RESTARTS AGE
auth-64b88d97dd-5z7ph 1/1 Running 0 31m
auth-64b88d97dd-bchr7 1/1 Running 0 31m
cloud-b8796c57d-5r7d9 1/1 Running 0 31m
cloud-b8796c57d-xpbx7 1/1 Running 0 31m
configserver-778bd7c4c9-mrtc6 1/1 Running 0 31m
event-5869c6bd75-2n7jl 1/1 Running 0 31m
event-5869c6bd75-xnvmj 1/1 Running 0 31m
foreq-679c7b7f6b-2ts2v 1/1 Running 0 31m
hashboard-9f865b6c8-c52bb 1/1 Running 0 31m
hashboard-9f865b6c8-rw6p4 1/1 Running 0 31m
hutil-54995bfd6b-sh4dt 1/1 Running 0 31m
hutil-54995bfd6b-tlqbj 1/1 Running 0 31m
memstore-7584fdd94f-479pj 1/1 Running 0 31m
mgmt-68c8dbfd58-8gxsx 1/1 Running 0 31m
mongo-0 2/2 Running 0 29m
mongo-1 2/2 Running 0 30m
mongo-2 2/2 Running 0 30m
msgbroker-7d7655559b-zxxfq 1/1 Running 0 31m
oci-proxy-6fdf95885f-qw58g 1/1 Running 0 31m
reloader-reloader-845cfd7fdf-2rq5t 1/1 Running 0 31m
spectrocluster-5c4cb4ff58-658w9 1/1 Running 0 31m
spectrocluster-5c4cb4ff58-fn8g5 1/1 Running 0 31m
spectrocluster-5c4cb4ff58-zvwfp 1/1 Running 0 31m
spectrocluster-jobs-5b54bf6bcf-mtgh8 1/1 Running 0 31m
system-6678d47874-464n6 1/1 Running 0 31m
system-6678d47874-rgn55 1/1 Running 0 31m
timeseries-6564699c7d-b6fnr 1/1 Running 0 31m
timeseries-6564699c7d-hvv94 1/1 Running 0 31m
timeseries-6564699c7d-jzmnl 1/1 Running 0 31m
user-866c7f779d-drf9w 1/1 Running 0 31m
user-866c7f779d-rm4hw 1/1 Running 0 31m