Add OCI Zarf Registry
You can add an OCI Zarf registry to Palette and use the Zarf packages in cluster profiles.
Prerequisites
-
You must have an OCI registry that contains Zarf packages. Refer to the Zarf documentation for guidance on creating a Zarf package.
-
Credentials to access the OCI registry. Public OCI registries are not supported.
-
If the OCI registry is using a self-signed certificate, or a certificate that is not signed by a trusted certificate authority (CA), you will need the certificate to add the registry to Palette.
-
Tenant admin access to Palette.
Add OCI Zarf Registry
Take the following steps to add an OCI Zarf registry to Palette.
-
Log in to Palette as a Tenant administrator.
-
From the left main menu, select Tenant Settings.
-
From the Tenant Settings menu, select Registries > OCI Registries > Add New OCI Registry.
-
Enter the Name of the registry. Select Zarf as the Provider.
-
Enable the Synchronization toggle if you want your public Zarf packages to be automatically imported into Palette.
infoThe value of the Synchronization toggle is immutable and cannot be changed after the OCI registry has been added to Palette.
-
Enter the registry URL in the Endpoint field.
-
If you enabled registry synchronization, fill in the relative paths that you want the registry to synchronize in the Base Content Path field. You can list multiple paths using a comma separator. If you are using a Harbor registry, fill the project name in this field.
infoAny Zarf packages directly under the root directory are not available for synchronization. Ensure that you place all the packages you want synchronized in a base path that matches the contents of the Base Content Path field.
-
Choose whether to Enable Authentication for your registry. If enabled, enter your registry credentials in the Username and Password fields.
-
If your OCI registry server is using a self-signed certificate, or if the server certificate is not signed by a trusted CA, select Insecure Skip TLS Verify to skip verifying the x509 certificate, and select Upload file to upload the certificate.
-
Confirm your registry.
-
The list of OCI registries appears and a row is added for your new registry. If enabled, the synchronization process begins immediately after registry creation. A timestamp will display in the Last Synced column once it completes.
infoOCI registries with synchronization enabled are synchronized daily. Alternatively, you can also trigger synchronization on demand. Refer to the Validate section for further details.
Validate
Take the following steps to confirm that the OCI registry was added to Palette.
-
Log in to Palette as a Tenant administrator.
-
From the left main menu, select Profiles.
-
Choose Add Cluster Profile.
-
Enter a Name for the profile. For the Type, choose Add-on, and select Next.
-
On the Profile Layers screen, select Add Zarf.
-
Verify the Zarf registry you added is displayed in the Registry drop-down menu.
-
If you enabled synchronization, select Tenant Settings from the left main menu.
-
From the Tenant Settings menu, select Registries > OCI Registries. Find your registry in the list of OCI registries. Select Sync from the three-dot menu.
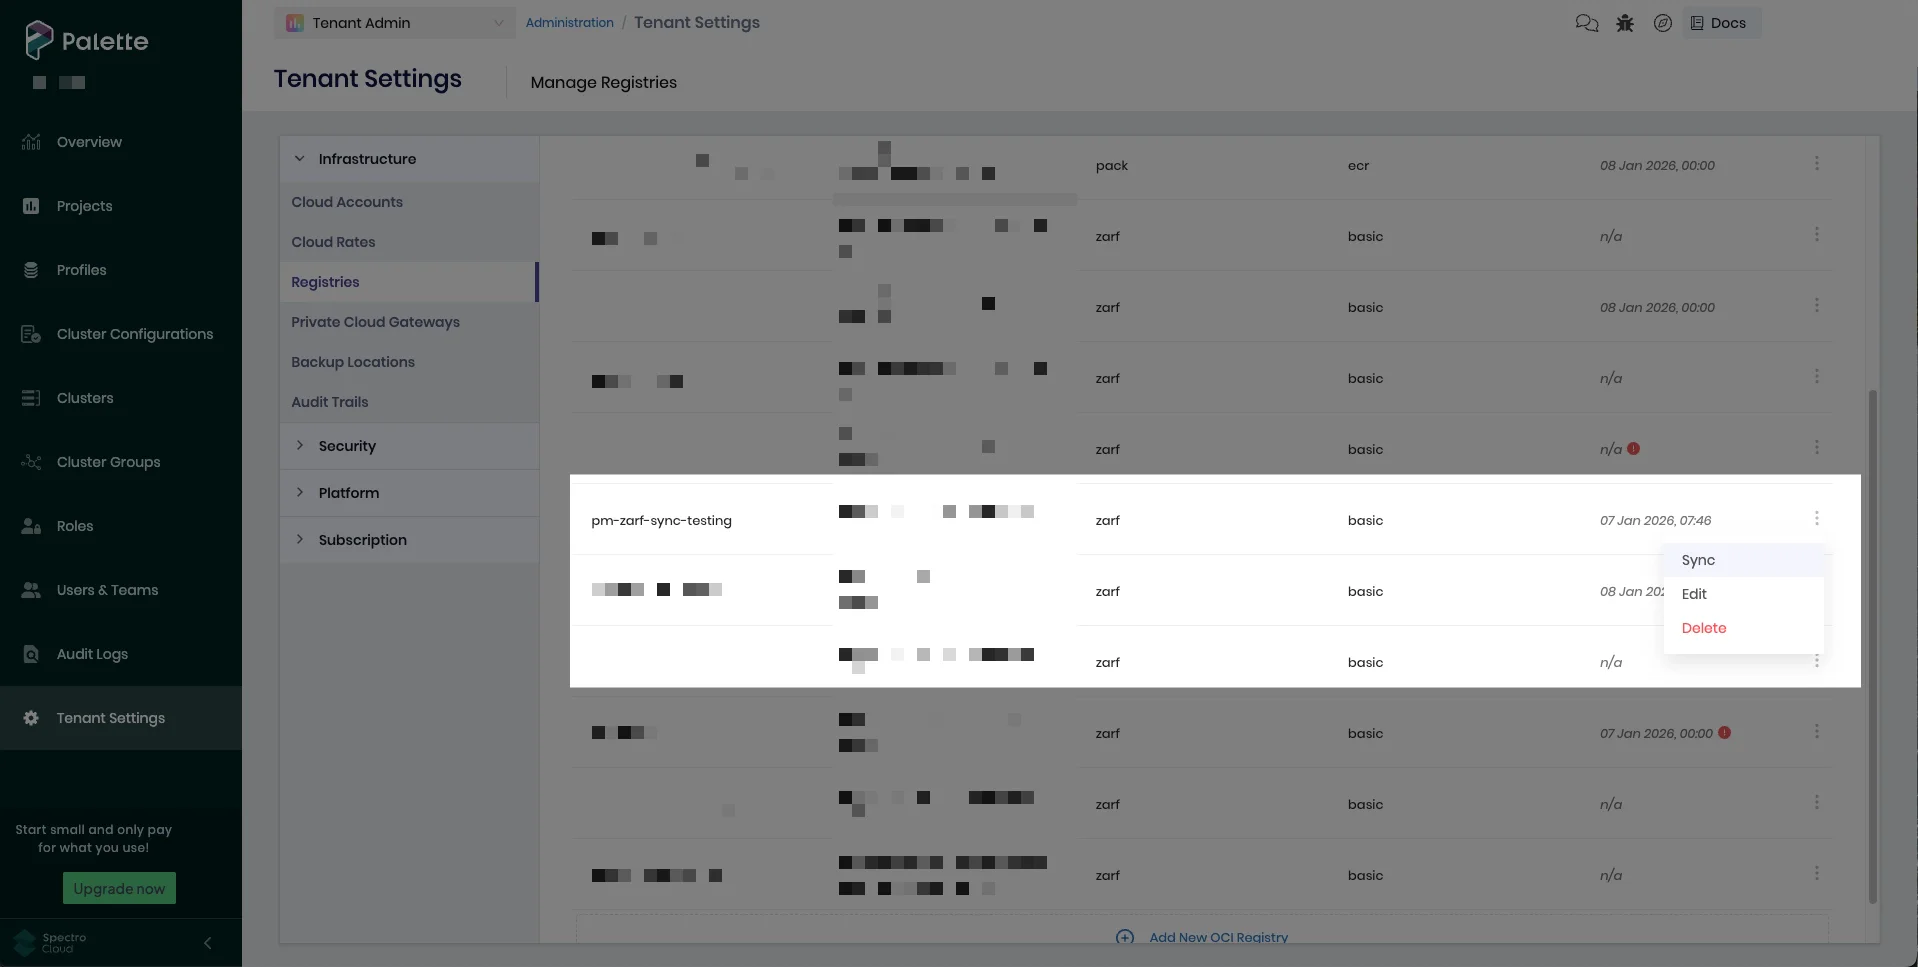
The Last Synced column displays Sync in progress. A timestamp appears in the column once the process completes.