Create and Manage AWS Cluster
Palette supports creating and managing Kubernetes clusters deployed to an AWS account. This section guides you on how to create a Kubernetes cluster in AWS that is managed by Palette.
Limitations
- AWS IaaS clusters cannot be deployed in AWS Secret or Top Secret cloud.
Prerequisites
The following prerequisites must be met before deploying a cluster to AWS:
-
Access to an AWS cloud account
- AWS clusters deployed by Palette use the AWS Instance Metadata Service (IMDS) configuration specified in the EC2 account defaults. Refer to the Configure the Instance Metadata Service options guide for further information.
- The AWS account used for IMDS configuration needs to be assigned the
ec2:GetInstanceMetadataDefaultspermission. Clusters will be launched withIMDSv2 (token optional)enforcement if this permission is not assigned. Refer to the AWS reference guide for further information.
-
You have added an AWS account in Palette. Review Add AWS Account for guidance.
-
An infrastructure cluster profile. Review Create an Infrastructure Profile for guidance.
-
An EC2 Key Pair in the target region.
-
Palette creates compute, network, and storage resources in AWS during the provisioning of Kubernetes clusters. Ensure there is sufficient capacity in the preferred AWS region for the creation of the following resources:
- vCPU
- VPC
- Elastic IP
- Internet Gateway
- Elastic Load Balancers
- NAT Gateway
infoThe following tags should be added to the virtual private network (VPC) public subnets to enable automatic subnet discovery for integration with AWS load balancer service. Replace the value
yourClusterNamewith your cluster's name.kubernetes.io/role/elb = 1sigs.k8s.io/cluster-api-provider-aws/role = publickubernetes.io/cluster/[yourClusterName] = sharedsigs.k8s.io/cluster-api-provider-aws/cluster/[yourClusterName] = owned
-
Ensure you don't have an existing security group that starts with the cluster name followed by the text
-nodein the selected VPC. Palette will automatically create a security group using the cluster name as a prefix followed by the text-node. The format is[name of cluster]-node. If you have an existing security group with the same name, you will need to either rename the existing security group before creating the cluster, or use a different cluster name. Otherwise, the cluster creation will fail due to duplicate resource name in the VPC.warningFor static network deployments, you must have port 6443 open between Palette and the workload cluster. Refer to the Network Ports documentation for detailed network architecture diagrams and to learn more about the ports used for communication.
-
If you plan to use AWS Dedicated Hosts for your cluster nodes, you must have the following prerequisites:
- A license configuration created in AWS License Manager.
- A Host Resource Group created in AWS License Manager with the license configuration associated.
- A Dedicated Host allocated to the Host Resource Group.
- The desired instance type is supported on the Dedicated Host. Refer to the Amazon EC2 Dedicated Host instance capacity configurations for more information.
- The AMI licenses match the licenses associated with the Host Resource Group.
- The required IAM policy PaletteHostResourceGroupsPolicy is attached to your AWS IAM user or role used by Palette. Review the Host Resource Groups Policy section for more information.
-
If configuring the Cert Manager pack , ensure that you use version 1.19.1 or later. It is also important to ensure:
crds.enabledis set tofalse.cainjector.enabledis set tofalseorcainjector.replicasis set to0.nodeSelectorornodeAffinityis set to prevent scheduling of Cert Manager on control pane nodes.
Deploy an AWS Cluster
Use the following steps to provision a new AWS cluster:
-
Log in to Palette.
-
Ensure you are in the correct project scope.
-
From the left main menu, select Clusters, and click Add New Cluster.
-
In Public Clouds, under Infrastructure Provider, select AWS IaaS.
-
In the bottom-right corner, click Start AWS IaaS Configuration.
-
Fill out the following basic information and click Next.
Field Description Cluster Name A custom name for the cluster. Description Use the description to provide context about the cluster. Tags Assign any desired cluster tags. Tags on a cluster are propagated to the Virtual Machines (VMs) deployed to the target environments. Example: region:us-east-1aorzone:vpc-private-us-east-1a.Cloud Account If your AWS account already exists in Palette, select it from the drop-down menu. Otherwise, click Add New Account and add your AWS account information. To learn how to add an AWS account, review the Add an AWS Account to Palette guide.
-
Choose between deploying your cluster using individual cluster profiles or a single cluster template.
- Cluster Profiles
- Cluster Templates
-
On the Cluster setup type window, choose Cluster Profiles > Add Cluster Profile.
-
Select the appropriate full or infrastructure cluster profile and Confirm your selection.
-
Review the layers of your cluster profile. Use the drop-down menus to select the appropriate cluster profile version, add necessary add-on profiles, and make changes to YAML configuration files as needed. When finished, select Next.
info- Cluster profile versions linked to cluster templates cannot be used in the cluster profile workflow.
- For ease of reuse and to persist changes across clusters using the same cluster profile, we recommend creating a new version of your cluster profile rather than making inline changes.
-
On the Cluster setup type window, choose Cluster Template > Select Cluster Template.
-
Select the appropriate cluster template and Confirm your selection.
-
Expand the Maintenance policy and Linked profiles panels to review the configuration of your cluster template.
If you need to make any changes, such as swapping your maintenance policy or updating your cluster profile version, you must exit the cluster deployment workflow and modify your cluster template before proceeding. If no changes are needed, select Next.
-
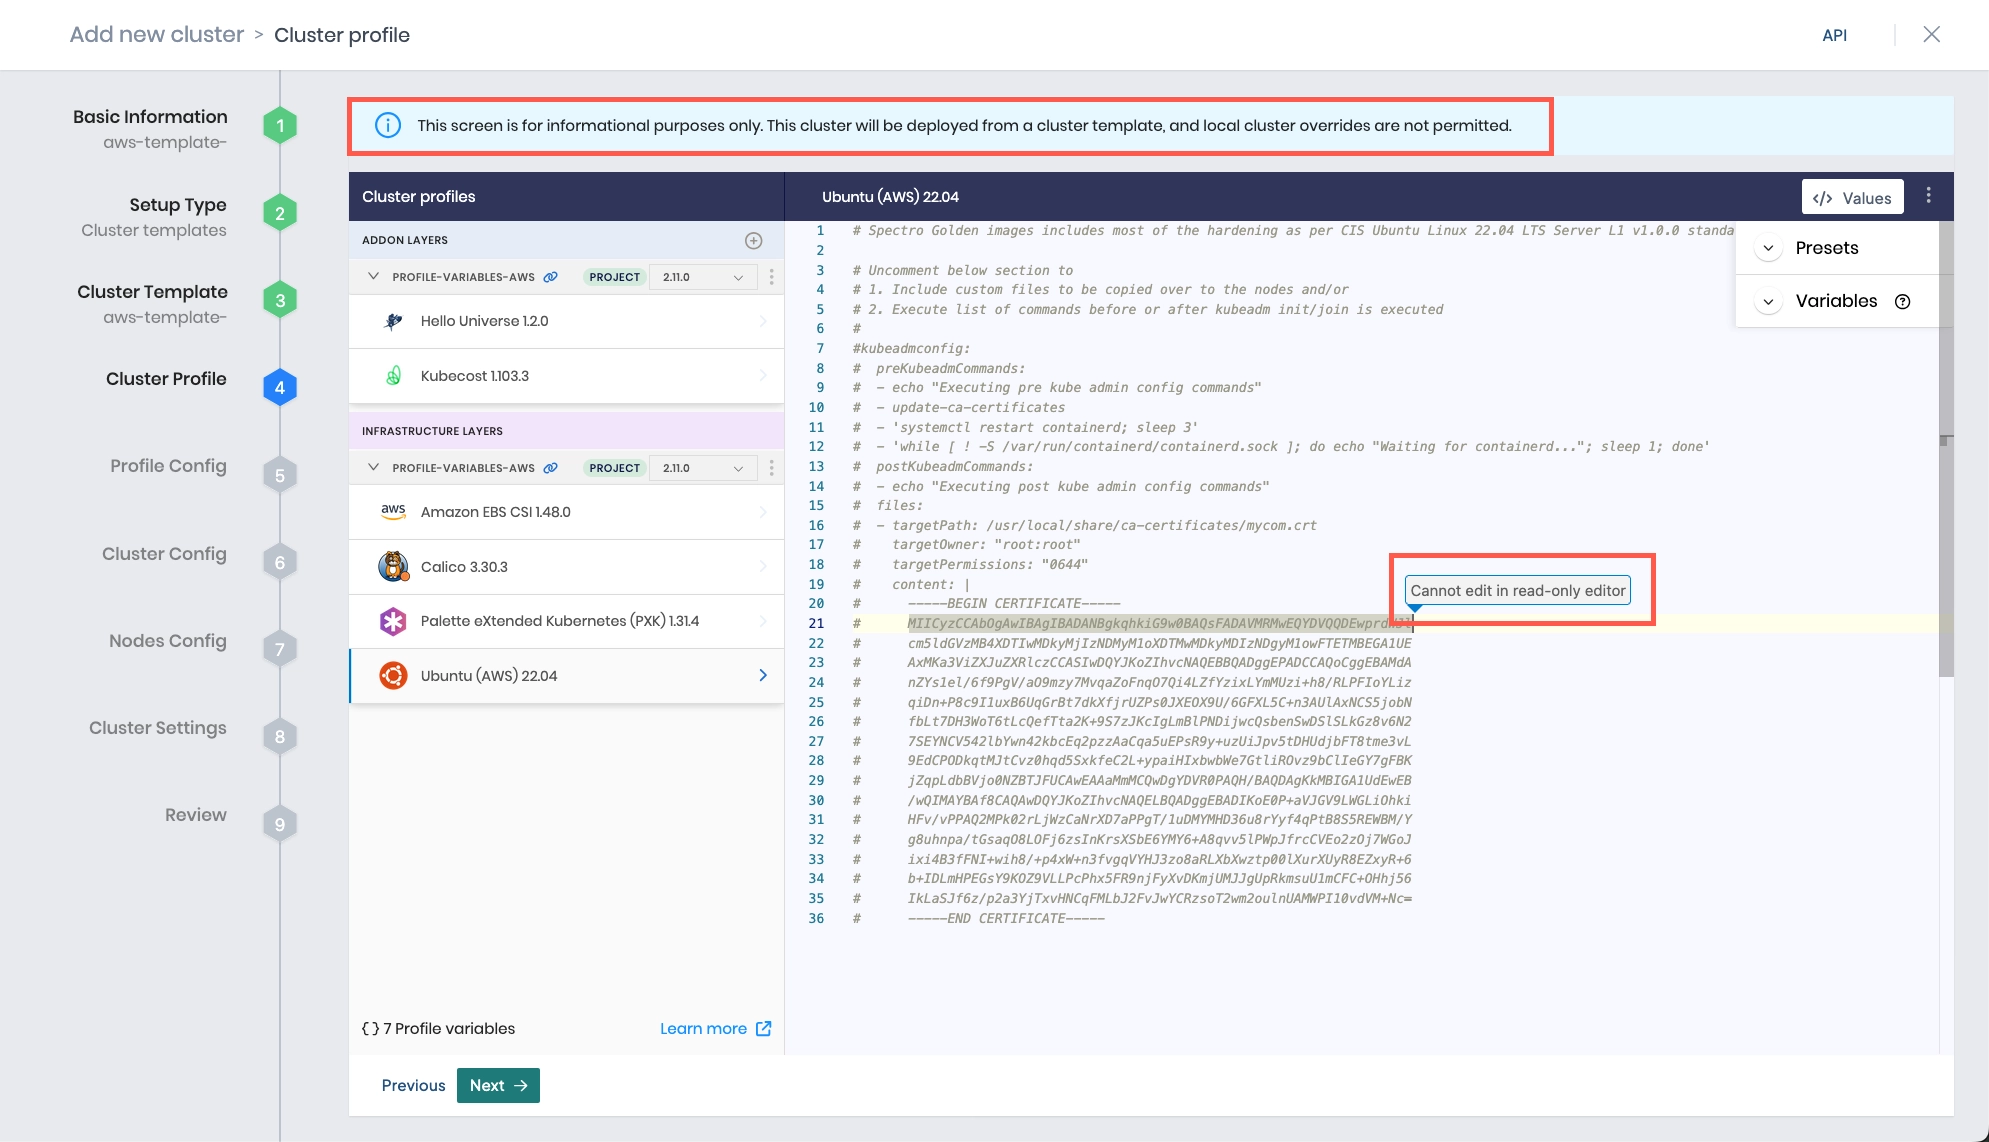
Review the layers of your cluster profile. If no changes are needed, select Next.
warningCluster profile changes, such as modifying your cluster profile version, adding additional add-on profiles, and editing YAML configuration files, are not allowed when deploying a cluster. Once a cluster profile is linked to a cluster template, that version of the cluster profile is locked to prevent configuration drift across clusters. If you need to make changes, you must create a new version of your cluster profile and modify your cluster template to use the new version.
-
The Profile variables configuration window opens if your cluster profile is configured to use cluster profile variables. Fill in the appropriate values, and select Next.
-
Provide the AWS cloud account and placement information.
Parameter Description Cloud Account Select the desired cloud account. AWS cloud accounts with AWS credentials need to be pre-configured in project settings. Region Choose the preferred AWS region where you would like to provision clusters. SSH Key Pair Name Choose the desired SSH Key pair. SSH key pairs need to be pre-configured on AWS for the desired regions. The selected key is inserted into the provisioned VMs. Static Placement Check the Static Placement box if you want to deploy resources into pre-existing VPCs and subnets. Review the Static Placement table below to learn more about the required input fields. Private API Server LB Enable to deploy the cluster load balancer in a private subnet. This feature requires Palette to have direct network connectivity with the private subnet or a Private Cluster Gateway deployed in the environment. Static Placement
Parameter Description VPCID Select the Virtual Private Cloud (VPC) ID network from the drop-down menu. Control plane subnet Select the control plane network from the drop-down menu. Worker Network Select the worker network from the drop-down menu. -
Provide the following node pool and cloud configuration information for the control plane and worker node pools.
The minimum number of CPUs and amount of memory depend on your cluster profile, but in general you need at least 4 CPUs and 4 GB of memory for each node in both the control plane pool and across all worker pools.
infoYou can add new worker pools if you need to customize certain worker nodes to run specialized workloads. As an example, the default worker pool may be configured with the m3.large instance types for general-purpose workloads, and another worker pool with instance type g2.2xlarge can be configured to run GPU workloads.
Node Configuration Settings
Parameter Description Node pool name A descriptive name for the node pool. Enable Autoscaler Only applicable to worker node pools. Enable this option to allow the node pool to automatically scale based on workload demand using autoscaler. When enabled, you need to provide values for the following parameters:
- Minimum size - The minimum number of nodes that should be maintained in the node pool.
- Maximum size - The maximum number of nodes that can be created in the node pool.Node repave interval (Optional) Only applicable to worker node pools. Specify the time interval in seconds at which nodes in the node pool are repaved. The default value is 0.Number of nodes in the pool Specify the number of nodes in the node pool. For control plane pools, this must be 1, 3, or 5 to maintain quorum. For worker node pools, this option is hidden if Enable Autoscaler is toggled on. Allow worker capability (Optional) Only applicable to control plane pools. Enable this option to allow the control plane nodes to also function as worker nodes. This is useful for small clusters where resource utilization needs to be optimized. Rolling update Only applicable to worker node pools.
Select Expand First, Contract First, or Custom to determine the order in which nodes are added to or removed from the worker node pool.
- Expand First - Adds new nodes before removing old nodes.
- Contract First - Removes old nodes before adding new nodes.
- Custom - Set either an explicit numerical value or a percentage for Max Surge and Max Unavailable. Max Surge and Max Unavailable cannot both be set to0.Additional Labels (Optional) You can add optional labels to nodes in key-value format. For general information about applying labels, review the Node Labels guide. Example: "environment": "production"Additional Annotations (Optional) Additional Kubernetes annotations to assign to each worker or control plane node. Override Kubeadm Configuration Only applicable to worker node pools. Adjust kubelet arguments for kubeadm or pre-kubeadm commands to meet specific operational or environment requirements for your worker nodes. This option is disabled by default. When enabled, the Configure Kubeadm button appears. Configure Kubeadm Only applicable to worker node pools. Available only when Override Kubeadm Configuration is enabled. Select this option to override kubeadmconfig.kubeletExtraArgsandkubeadmconfig.preKubeadmConfigcommands configured in the Kubernetes layer of your cluster profile. Any changes made post-cluster deployment will trigger a cluster repave.Taints (Optional) You can apply optional taint labels to a node pool during cluster creation or edit taint labels on an existing cluster. Review the Node Pool management page and Taints and Tolerations guide to learn more. Toggle the Taint button to create a taint label. When tainting is enabled, you need to provide a custom key-value pair. Use the drop-down menu to choose one of the following Effect options:
- NoSchedule - Pods are not scheduled onto nodes with this taint.
- PreferNoSchedule - Kubernetes attempts to avoid scheduling pods onto nodes with this taint, but scheduling is not prohibited.
- NoExecute - New pods that do not tolerate the taint will not be scheduled on the node, and existing pods on the node, if any, will be evicted if they do not tolerate the taint.Cloud Configuration Settings
Parameter Description Instance Option Choose a pricing method:
- On-demand - Provides stable and uninterrupted compute capacity at a higher cost.
- Spot instances - Only available for worker node pools. Allows you to bid for unused EC2 capacity at a lower cost.
- Host Resource Group - Use a Dedicated Host, where you are able to apply specific granular hardware configuration.
We recommend you base your choice on your application's requirements.Maximum spot bid price (% of on-demand instance price) Only applicable to worker node pools when Spot instances is selected as the Instance Option. Specify the maximum percentage of the on-demand instance price that you are willing to pay for spot instances. For example, if you enter 30, Palette will only provision spot instances when the spot price is less than or equal to 30% of the on-demand price.Host Resource Group ARN Only applicable when Host Resource Group is selected as the Instance Option. Select an existing Amazon Resource Name (ARN) for the host resource group from the drop-down menu. Host resource groups are created using the AWS License Manager. Refer to Host resource groups in License Manager for more information. License Configuration ARN Only applicable when Host Resource Group is selected as the Instance Option. Select an existing ARN for the license configuration from the drop-down menu. Existing software licenses for Dedicated Hosts are managed from the AWS License Manager. Instance Type Select the instance type to use for all nodes in the node pool. If using Dedicated Hosts, ensure that the instance type is supported on your dedicated host. Availability Zones Select one or more availability zones for the node pool. Distributing nodes across multiple availability zones increases fault tolerance and availability. Additional Security Groups (Optional) Only applicable when Static Placement was selected on the Cluster config page. Specify additional AWS security groups to apply to the node pool. Use the drop-down menu to select additional security groups. Root Disk size (GB) Choose a disk size based on your requirements. The default size is 60. -
Click Next.
-
On the Cluster Settings page, configure additional options as needed. If you are deploying your cluster using cluster templates, a Cluster Timezone is required.
Left Menu Item Additional Information Cluster Timezone Specify the time zone where your cluster is being deployed. The time zone is used in maintenance policies to determine when updates are rolled out to clusters deployed with cluster templates. Manage machines Set an OS patching schedule and specify node behavior when creating your cluster, including upgrading your nodes to use the latest OS patch version and allowing reboots. Schedule scans Enable any scan options you want Palette to perform and select a scan schedule. Palette supports Kubernetes configuration security, penetration testing, and conformance testing. Refer to Compliance Scan for details on each scan type. Schedule backups Schedule backups for your entire cluster or etcd. Refer to Backup and Restore for more information. RBAC Map a set of users or groups to a Kubernetes RBAC role. This is required when custom OIDC is configured. Refer to the following guides for more information:
- Create Role Bindings
- Palette eXtended Kubernetes (PXK) -
Select Validate to review your cluster configurations and settings.
-
If no changes are needed, select Finish Configuration to deploy your cluster.
To monitor the status of your cluster deployment, from the left main menu, select Clusters and choose your cluster. The cluster Overview tab displays the status and health of your cluster, as well as deployment details. Use the Events tab to monitor the deployment in real time. Provisioning may take several minutes.
Validate
You can validate that your cluster is up and available by reviewing the cluster details page.
-
Log in to Palette.
-
Navigate to the left main menu and click Clusters.
-
The Clusters page contains a list of the available clusters Palette manages. Click on the cluster you want to review.
-
From the cluster details page, verify the Cluster Status field displays Running.
Next Steps
Now that you have a Kubernetes cluster deployed, you can start developing and deploying applications to your clusters. We recommend you review the day two responsibilities and become familiar with the cluster management tasks. Check out the Manage Clusters documentation to learn more about day two responsibilities.