Create and Manage CloudStack Clusters
This is a Tech Preview feature and is subject to change. Do not use this feature in production workloads. This feature is supported in self-hosted Palette only.
You can deploy Kubernetes clusters on Apache CloudStack using Palette. Use the following steps to create and manage CloudStack clusters in Palette.
Limitations
Creating and building clusters was done with KVM Hypervisor. These steps should be the same for other hypervisors but there may be variations. You may need to build your own images based on hypervisor type and image type that is supported by the hypervisor. Refer to the CAPI Image Builder for guidance.
Prerequisites
-
The ApacheCloudStack feature flag is enabled.
-
A CloudStack account registered in Palette. Refer to the Add CloudStack Accounts to Palette guide to learn how to add CloudStack accounts.
-
A cluster profile for the CloudStack environment. You can learn how to create a cluster profile by following the steps in the Create a Cluster Profile guide.
-
An imported CloudStack template used to map to the Ubuntu or BYOOS image, and Kubernetes version defined in the cluster profile.
Importing a template
In CloudStack console, navigate to Images.
Select Templates and click on Register Template from URL.
Provide values for the fields below.
Field Description URL Provide the following Ubuntu template URL or the URL to your BYOOS. The URL must end with qcow2when using KVM as the hypervisor.Name Must follow the format u-2404-0-k-13210-0.Description Optional. Zone Specify the zone from the dropdown. Domain Specify the domain from the dropdown. Hypervisor Select KVM from the dropdown. Format Select QCOW2 from the dropdown. OS type Select Ubuntu 24.04 (64-bit) from the dropdown. Template type Select USER from the dropdown. Extractable Leave default. Dynamically scalable Leave default. Public Select the checkbox. Password enabled Leave default. HVM Leave default. Click OK.
Note: Image name must follow the required format, must be set Public, and only one template with that name may exist per user. Duplicate names can cause CloudStack functional issues and deployment failures.
For example, user A imports an image named
u-2404-0-k-13210-0and sets it to Public availability. User B creates another template with the same name but does not mark it Public. User A will have one template namedu-2404-0-k-13210-0and user B will have two templates namedu-2404-0-k-13210-0. When user B deploys a cluster usingu-2404-0-k-13210-0, the deployment will fail with a duplicate template error:Reconciler error: expected 1 Template with name u-2404-0-k-13210-0, but got 2. -
If configuring the Cert Manager pack , ensure that you use version 1.19.1 or later. It is also important to ensure:
crds.enabledis set tofalse.cainjector.enabledis set tofalseorcainjector.replicasis set to0.nodeSelectorornodeAffinityis set to prevent scheduling of Cert Manager on control pane nodes.
Create a CloudStack Cluster
-
Log in to Palette.
-
Navigate to the left Main Menu and select Clusters.
-
Click Add New Cluster on the Create a New Cluster page.
-
Select Apache CloudStack and click the Start Apache CloudStack Configuration button.
-
Fill out the input fields. Use the table below to learn more about each input fields. Click on the Next button when you are done.
Field Name Description Required Cluster name The name of the cluster. Yes Description A brief description of the cluster. No Tags Tags to help you identify the cluster. No Cloud Account The Apache CloudStack account to use for the cluster. If no account is available, ensure you deployed a PCG into the Apache CloudStack environment. Yes -
Choose between deploying your cluster using individual cluster profiles or a single cluster template.
- Cluster Profiles
- Cluster Templates
-
On the Cluster setup type window, choose Cluster Profiles > Add Cluster Profile.
-
Select the appropriate full or infrastructure cluster profile and Confirm your selection.
-
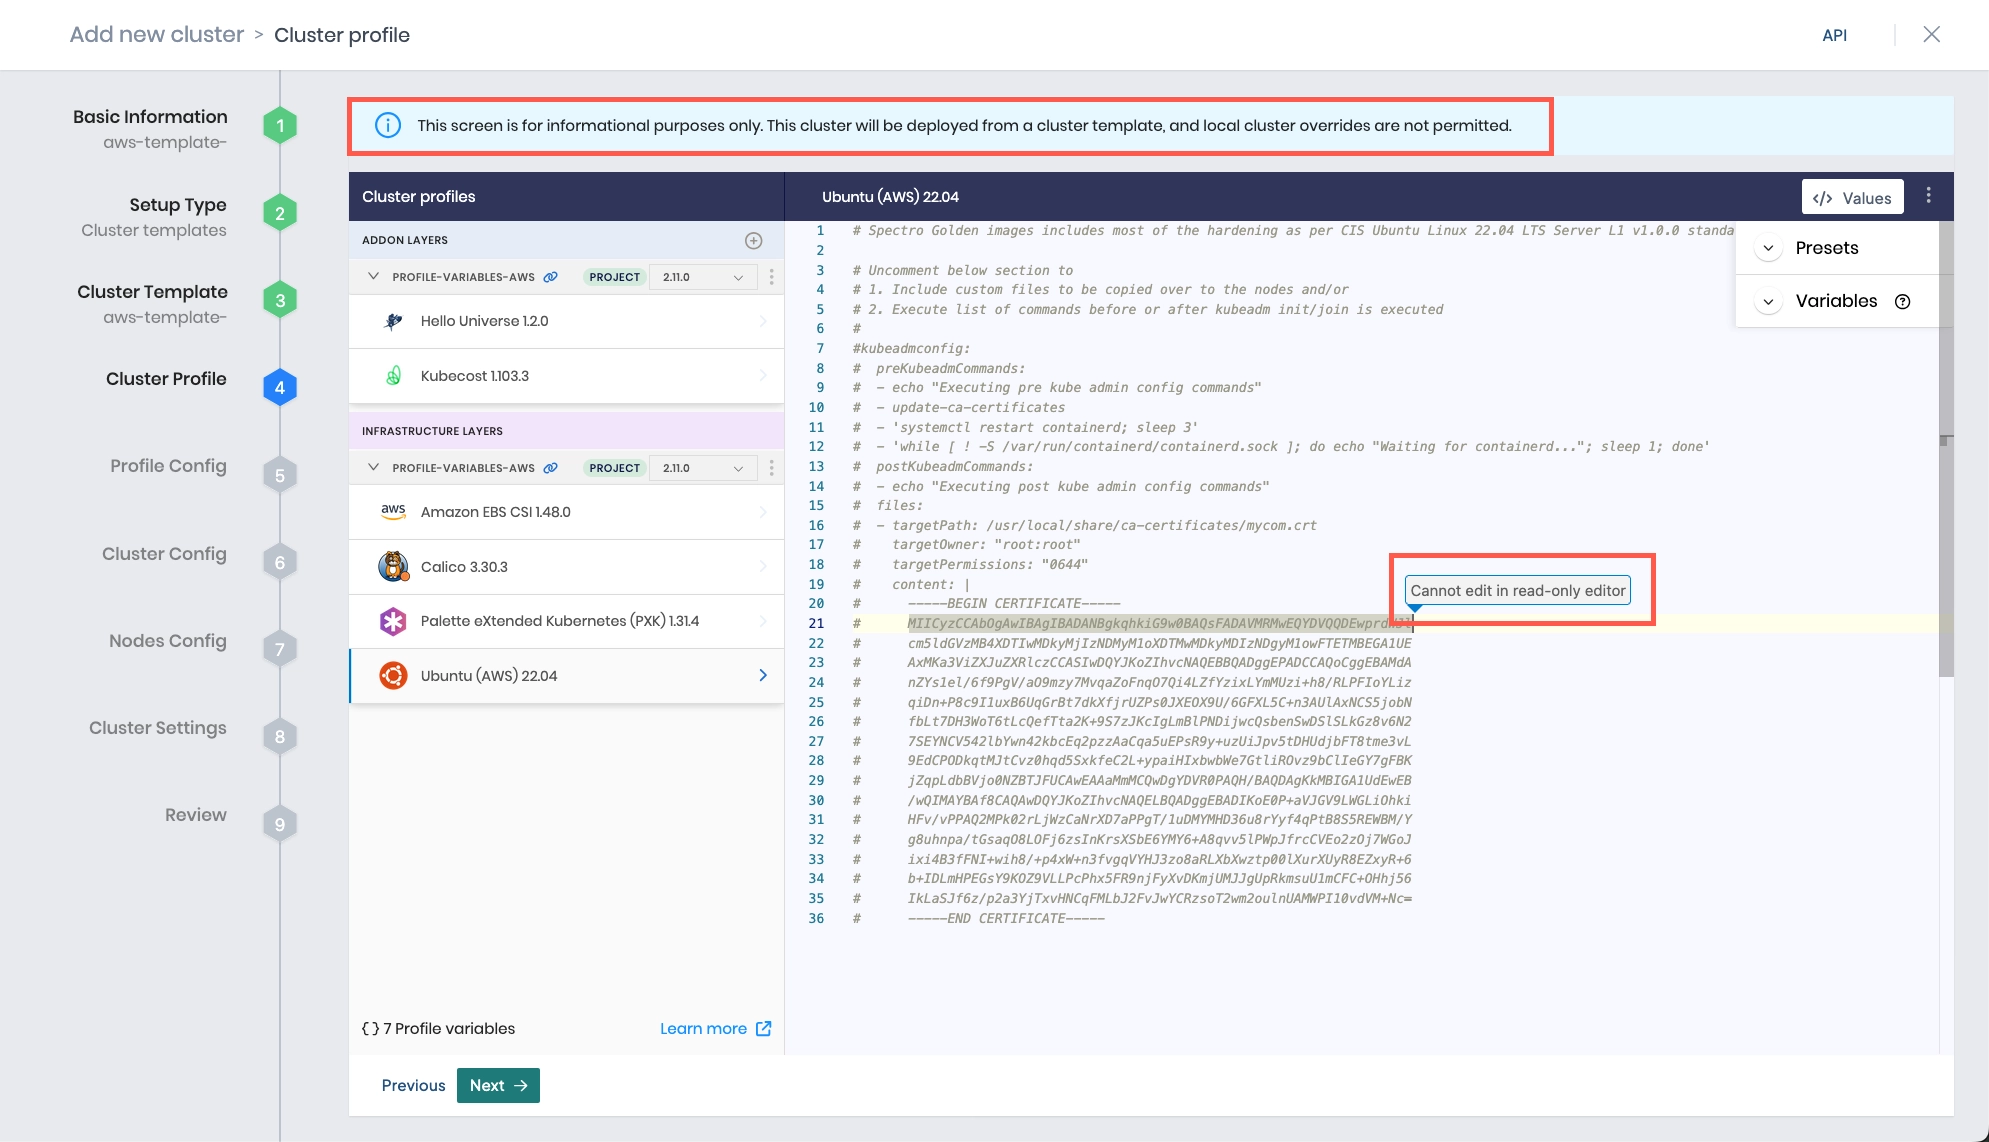
Review the layers of your cluster profile. Use the drop-down menus to select the appropriate cluster profile version, add necessary add-on profiles, and make changes to YAML configuration files as needed. When finished, select Next.
info- Cluster profile versions linked to cluster templates cannot be used in the cluster profile workflow.
- For ease of reuse and to persist changes across clusters using the same cluster profile, we recommend creating a new version of your cluster profile rather than making inline changes.
-
On the Cluster setup type window, choose Cluster Template > Select Cluster Template.
-
Select the appropriate cluster template and Confirm your selection.
-
Expand the Maintenance policy and Linked profiles panels to review the configuration of your cluster template.
If you need to make any changes, such as swapping your maintenance policy or updating your cluster profile version, you must exit the cluster deployment workflow and modify your cluster template before proceeding. If no changes are needed, select Next.
-
Review the layers of your cluster profile. If no changes are needed, select Next.
warningCluster profile changes, such as modifying your cluster profile version, adding additional add-on profiles, and editing YAML configuration files, are not allowed when deploying a cluster. Once a cluster profile is linked to a cluster template, that version of the cluster profile is locked to prevent configuration drift across clusters. If you need to make changes, you must create a new version of your cluster profile and modify your cluster template to use the new version.
-
The Profile variables configuration window opens if your cluster profile is configured to use cluster profile variables. Fill in the appropriate values, and select Next.
- PCG with Dynamic Network
- PCG with Static Networking
-
Fill out the Apache CloudStack configuration details for the cluster. Refer to the table below to learn more about each option. Click Next to proceed.
Field Name Description Required Zone The Apache CloudStack physical environment the cluster will be created in. Yes Project Name The Project name within the Domain that the cluster will be created in. Yes SSH Key The SSH key to use for the cluster. Check out the Create and Upload an SSH Key guide to learn how to upload an SSH key to Palette. No Static placement The network type to use for the cluster. Select Static IP if you want to use static IP addresses. Select DHCP if you want to use Dynamic Host Configuration Protocol (DHCP). Yes Sync cluster with CloudStack Kubernetes Service (CKS) To use this, the CloudStack Kubernetes Service must be enabled on the CloudStack management server in a Global Setting. No Update worker pools in parallel Palette can more efficiently manage workloads by updating multiple worker pools simultaneously. No
-
Fill out the Apache CloudStack configuration details for the cluster. Refer to the table below to learn more about each option. Click Next to proceed.
Field Name Description Required Zone The Apache CloudStack physical environment the cluster will be created in. Yes Project Name The Project name within the Domain that the cluster will be created in. Yes SSH Key The SSH key to use for the cluster. Check out the Create and Upload an SSH Key guide to learn how to upload an SSH key to Palette. No Static placement The network type to use for the cluster. Select Static IP if you want to use static IP addresses. Select DHCP if you want to use Dynamic Host Configuration Protocol (DHCP). Yes VPC The VPC to use for the cluster. Yes Network The Network to use for the cluster. Yes Control plane endpoint The IP address for the Control plane. Yes Sync cluster with CloudStack Kubernetes Service (CKS) To use this, the CloudStack Kubernetes Service must be enabled on the CloudStack management server in a Global Setting. No
-
Configure the control plane and worker node pool configurations. Click Next to proceed.
Control Plane Pool Configuration
tipTo apply the same configuration to the worker node pool as the control plane node pool, click the Copy from the Control Plane Pool button. This will copy the control plane pool configuration to the worker node pool.
Field Name Description Node Pool Name The name of the control plane node pool. Number of nodes in the pool The number of control plane nodes. Allowed values are 1, 3, and 5. Allow Worker Capability Enable this option to workloads to be deployed on control plane nodes. Additional Labels Additional labels to apply to the control plane nodes. Additional Annotations Additional Kubernetes annotations to assign to each control plane node. Taints Taints to apply to the control plane nodes. If enabled, an input field is displayed to specify the taint key, value and effect. Check out the Node Labels and Taints page to learn more. Cloud Configuration
Field Name Description Compute offering Select the compute offering to use for all nodes in the node pool. Networks (optional) Select the guest network to use. Worker Plane Pool Configuration
Field Name Description Node Pool Name The name of the control plane node pool. Enable Autoscaler Scale the pool horizontally based on its per-node workload counts. The Minimum size specifies the lower bound of nodes in the pool, and the Maximum size specifies the upper bound. Setting both parameters to the same value results in a static node count. Refer to the Cluster API autoscaler documentation for more information on autoscaling. Node Repave Interval The interval at which the worker nodes are repaved in seconds. Refer to the Repave Behavior and Configuration for additional information about repave behaviors. Number of Nodes in the Pool Number of nodes to be provisioned for the node pool. This field is hidden if Enable Autoscaler is toggled on. Rolling Update Select Expand First, Contract First, or Custom to determine the order in which nodes are added to or removed from the worker node pool.
- Expand First - Adds new nodes before removing old nodes.
- Contract First - Removes old nodes before adding new nodes.
- Custom - Set either an explicit numerical value or a percentage for Max Surge and Max Unavailable. Max Surge and Max Unavailable cannot both be set to0.Additional Labels Additional labels to apply to the worker nodes. Additional Annotations (Optional) Additional Kubernetes annotations to assign to each worker node. Override Kubeadm Configuration Adjust kubelet arguments for kubeadm or pre-kubeadm commands to meet specific operational or environment requirements for your worker nodes. This option is disabled by default. When enabled, the Configure Kubeadm button appears. Configure Kubeadm Available only when Override Kubeadm Configuration is enabled. Select this option to override kubeadmconfig.kubeletExtraArgsandkubeadmconfig.preKubeadmConfigcommands configured in the Kubernetes layer of your cluster profile. Any changes made post-cluster deployment will trigger a cluster repave.Taints Taints to apply to the control plane nodes. If enabled, an input field is displayed to specify the taint key, value and effect. Check out the Node Labels and Taints page to learn more. Cloud Configuration
Field Name Description Compute offering Select the compute offering to use for all nodes in the node pool. Networks (optional) Select the guest network to use. Template Name (optional) Copy and paste the template name from CloudStack dashboard. You can click Copy from Control Plane Pool if you want to re-use the Control Plane Pool's Compute offering and Networks.
Click on the Next button when you are done.
-
On the Optional cluster settings page, select from among the items on the left menu to configure additional options. Refer to the applicable guide for additional information.
Left Menu Item Additional Information Cluster Timezone (Optional) Set the timezone to be used for the cluster Manage machines OS Patching Schedule scans Compliance Scan Schedule backups Backup and Restore RBAC - Create Role Bindings
- Palette eXtended Kubernetes (PXK)
-
Click on the Validate button and review the cluster configuration and settings summary.
-
Click Finish Configuration to deploy the cluster.
The cluster deployment process is initiated. You can monitor the cluster deployment progress by navigating to the left Main Menu and selecting Clusters. Click on the cluster you just created to view the cluster details page. The Cluster Status field displays the current status of the cluster.
Validate
Use the following steps to validate that the cluster is available and healthy.
-
Log in to Palette.
-
Navigate to the left Main Menu and click Clusters.
-
The Clusters page lists all available clusters that Palette manages. Select the cluster you deployed to review its details page.
-
Ensure the Cluster Status field contains the value Running.
You can download the cluster's kubeconfig file to access the cluster using the Kubernetes command-line tool, kubectl. Check out the Access a Cluster guide to learn how to download the kubeconfig file.
Next Steps
Now that you have a Kubernetes cluster deployed, you can deploy applications to CloudStack. We recommend you review the Day-2 responsibilities and become familiar with the cluster management tasks. Check out the Manage Clusters documentation to learn more about Day-2 responsibilities.