Headlamp
Headlamp is an open source, web-based interface for Kubernetes that provides a clear and intuitive way to interact with cluster resources without relying solely on command-line tools. It allows you to explore workloads, inspect configurations, and monitor the state of their applications through an intuitive dashboard.
Supported Cluster Types
- Public Cloud
- IaaS:
- AWS
- Azure
- GCP
- Managed Kubernetes:
- AWS EKS
- IaaS:
- Edge
- Imported clusters
- Palette Virtual Clusters, except virtual clusters that use K3s. Refer to Virtual Clusters.
Access Modes
When you add the Headlamp pack to a cluster profile, use the Access option to select how Palette connects to Headlamp.
| Access Mode | Description |
|---|---|
| Proxied (default) | Palette connects to Headlamp through the Spectro Proxy pack. When you select this mode, Palette adds the Spectro Proxy pack to the cluster profile. |
| Direct | Palette exposes Headlamp through a Kubernetes LoadBalancer service. Palette does not add Spectro Proxy. |
Prerequisites
- An active Palette cluster.
- An OIDC (OpenID Connect) Identity Provider. For more information about using a custom OIDC, visit the page on Security Assertion Markup Language (SAML) and OIDC Single Sign-On (SSO).
Enablement
-
Log in to Palette.
-
From the left main menu, select Profiles > Add Cluster Profile. Fill in a name for the profile and select Add-on for the profile Type. Optionally, you can provide a description and tags. Select Next.
-
Select Add New Pack. The search field appears.
-
Search for and select the Headlamp pack.
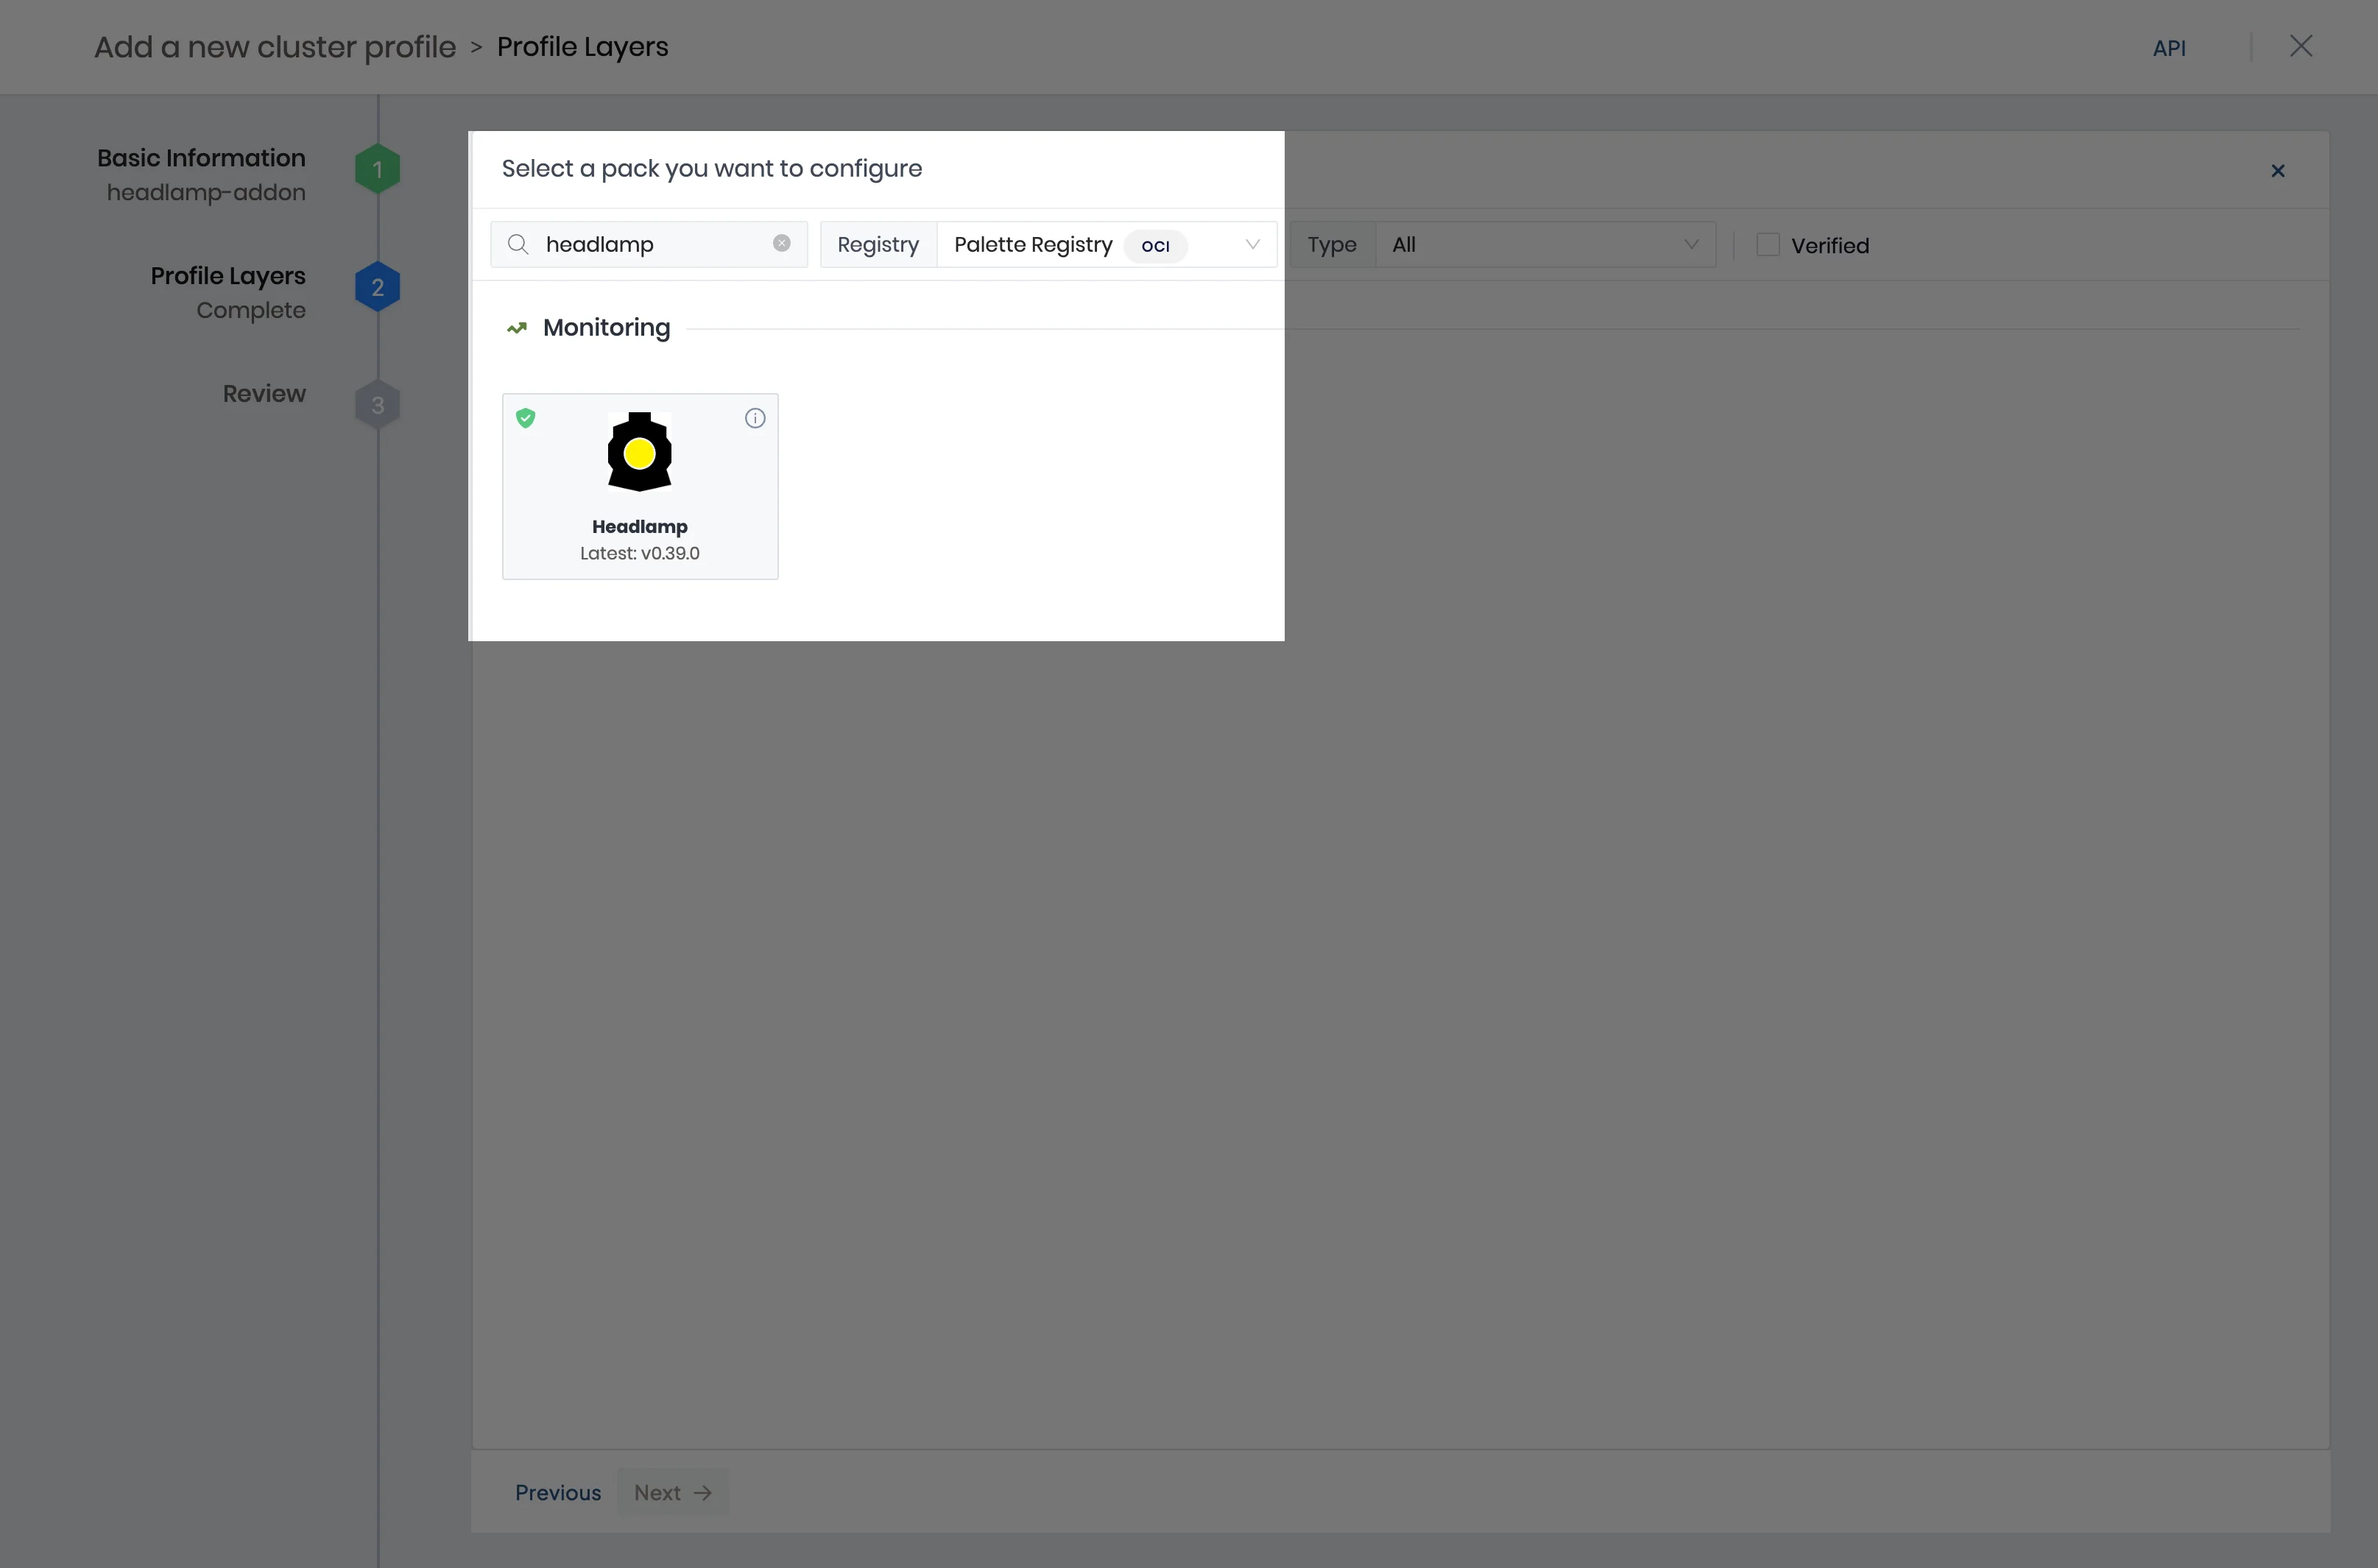
In the Access option, select Proxied or Direct. Leave the rest of the default configuration and select Confirm & Create. Select Next and Finish Configuration to create your add-on cluster profile.
-
From the left main menu, select Clusters. Select the cluster you want to provision Headlamp on.
-
Select the Profile tab and select the + button in the Addon Layers section. The list of add-on cluster profile versions appears.
-
Select the add-on cluster profile you created in Step 4. Then, select Confirm and Save to apply the profile to your cluster. Review any cluster profile changes that may appear.
-
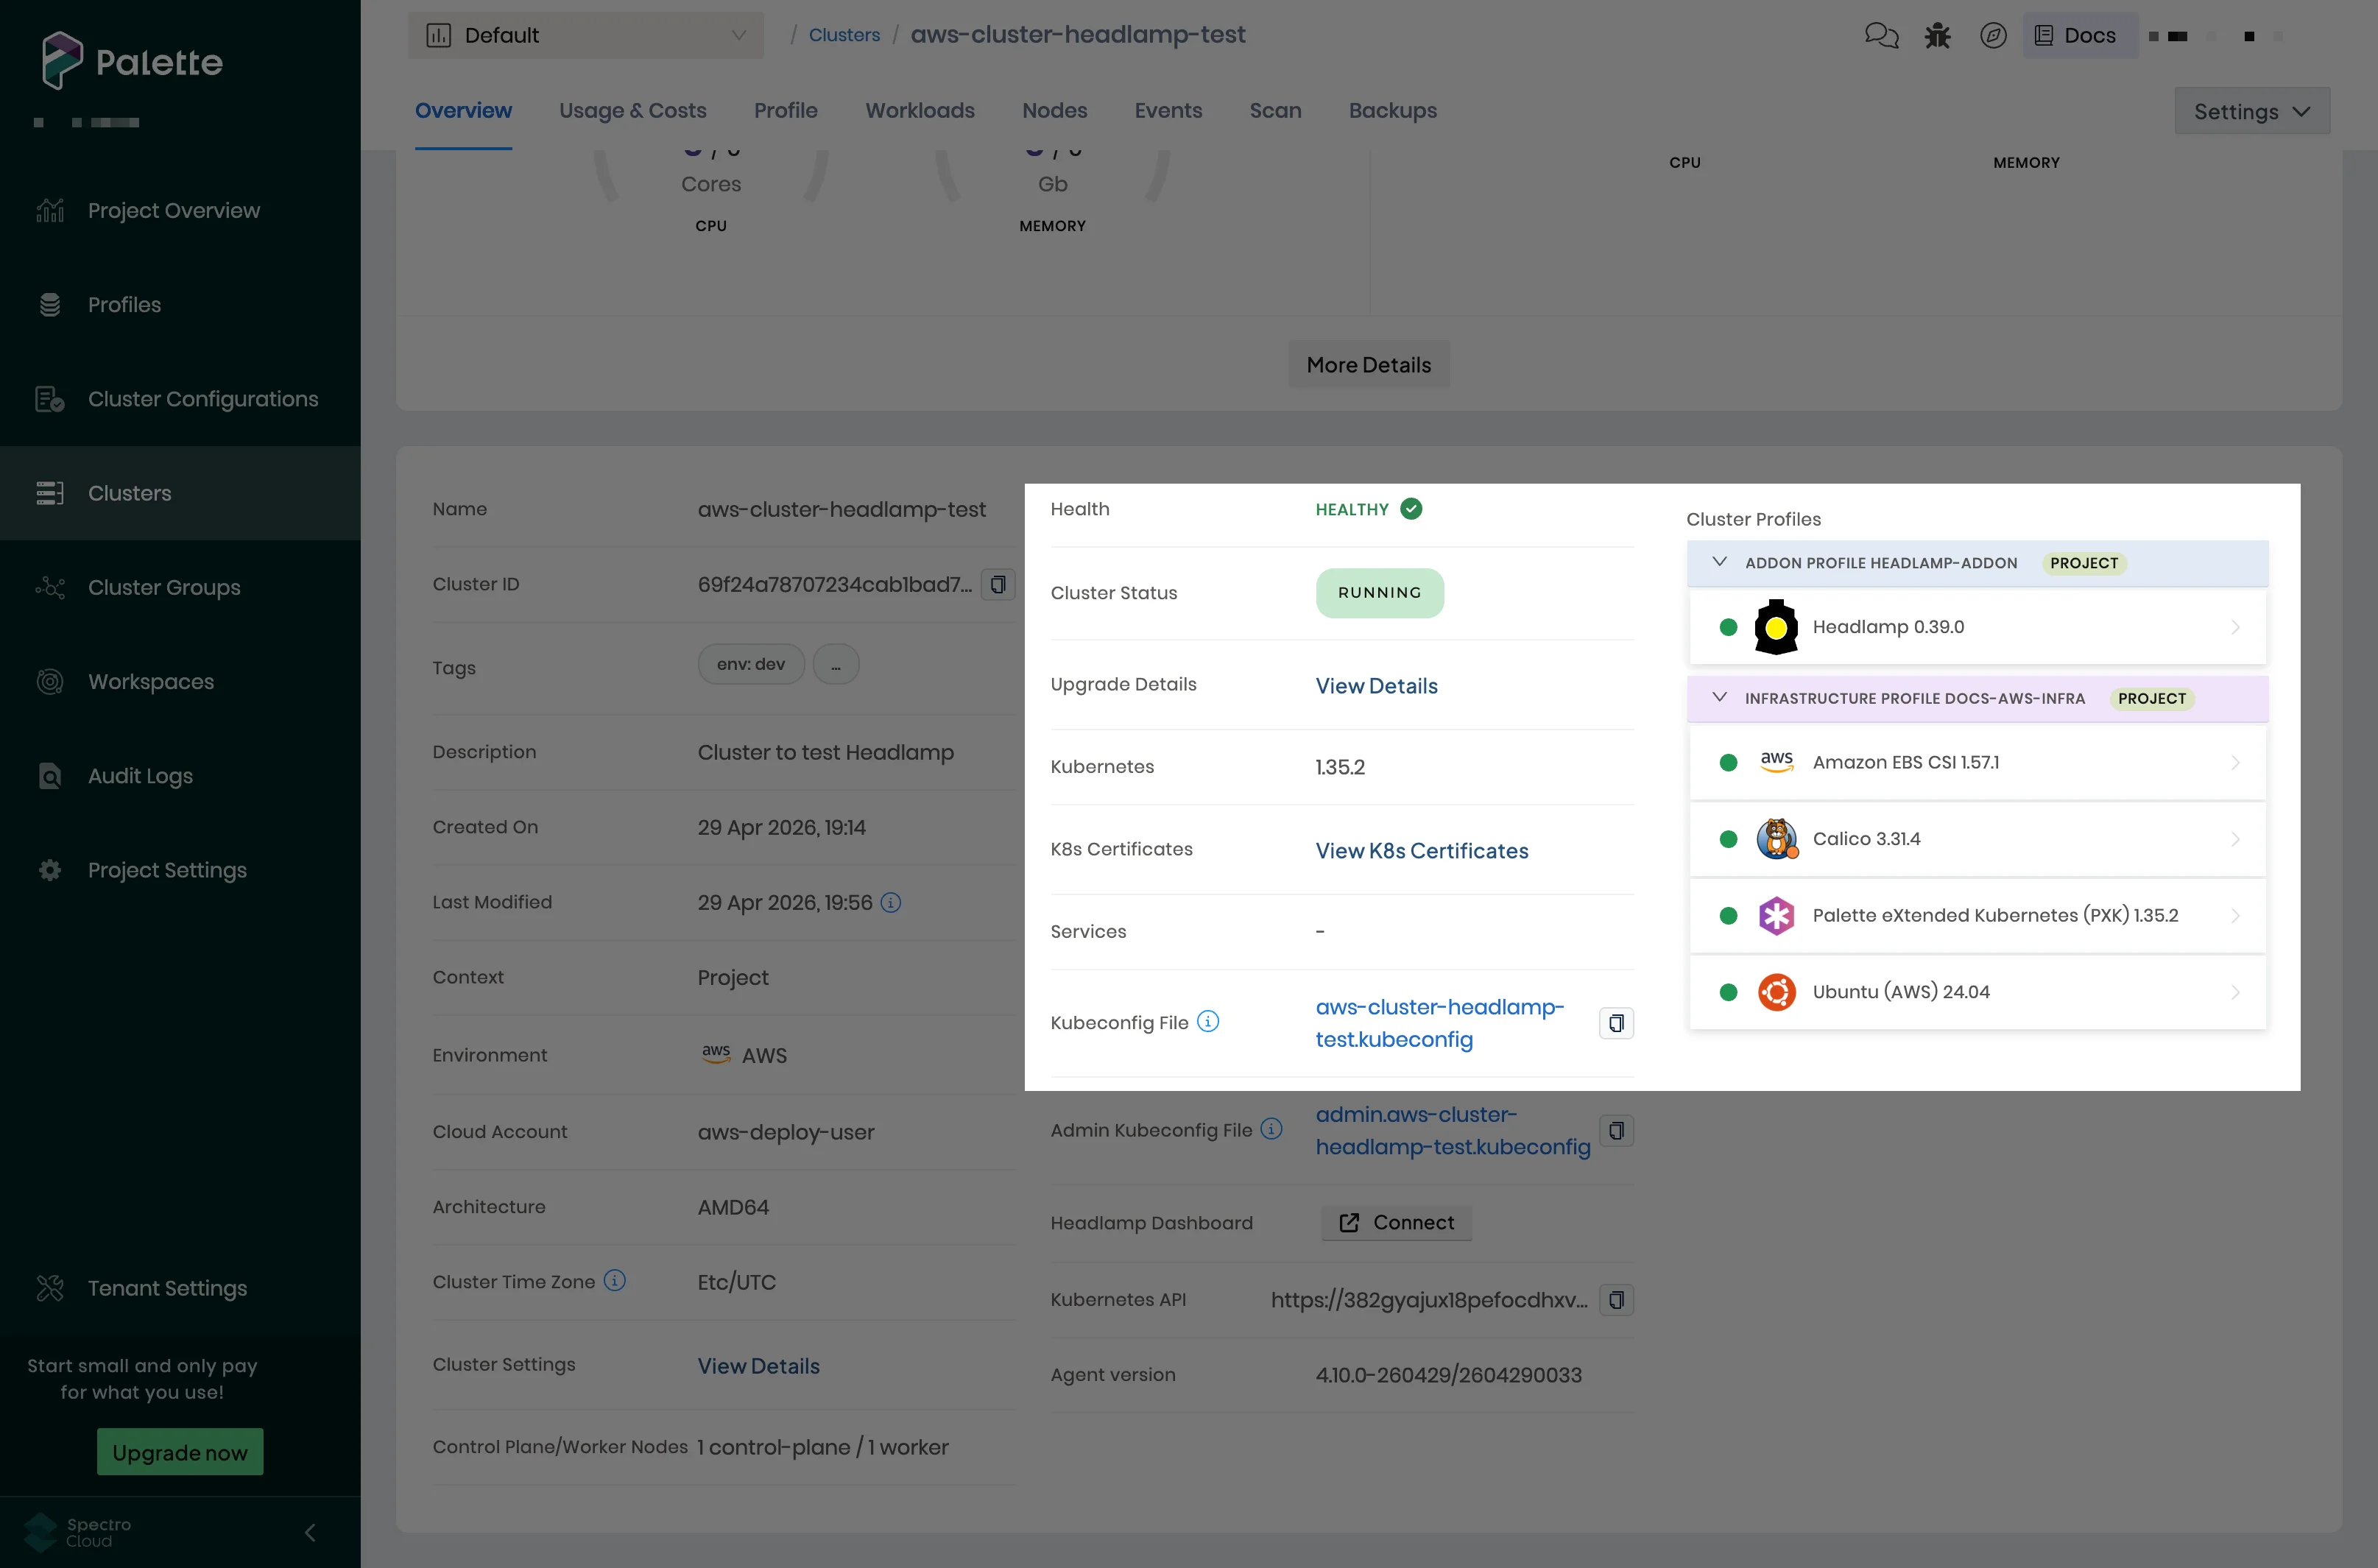
Select the Overview tab. Palette marks the add-on layer containing Headlamp with a green circle once it completes the deployment process.
Validate
-
Log in to Palette.
-
From the left main menu, select Clusters.
-
Select the cluster where you deployed the Headlamp pack.
-
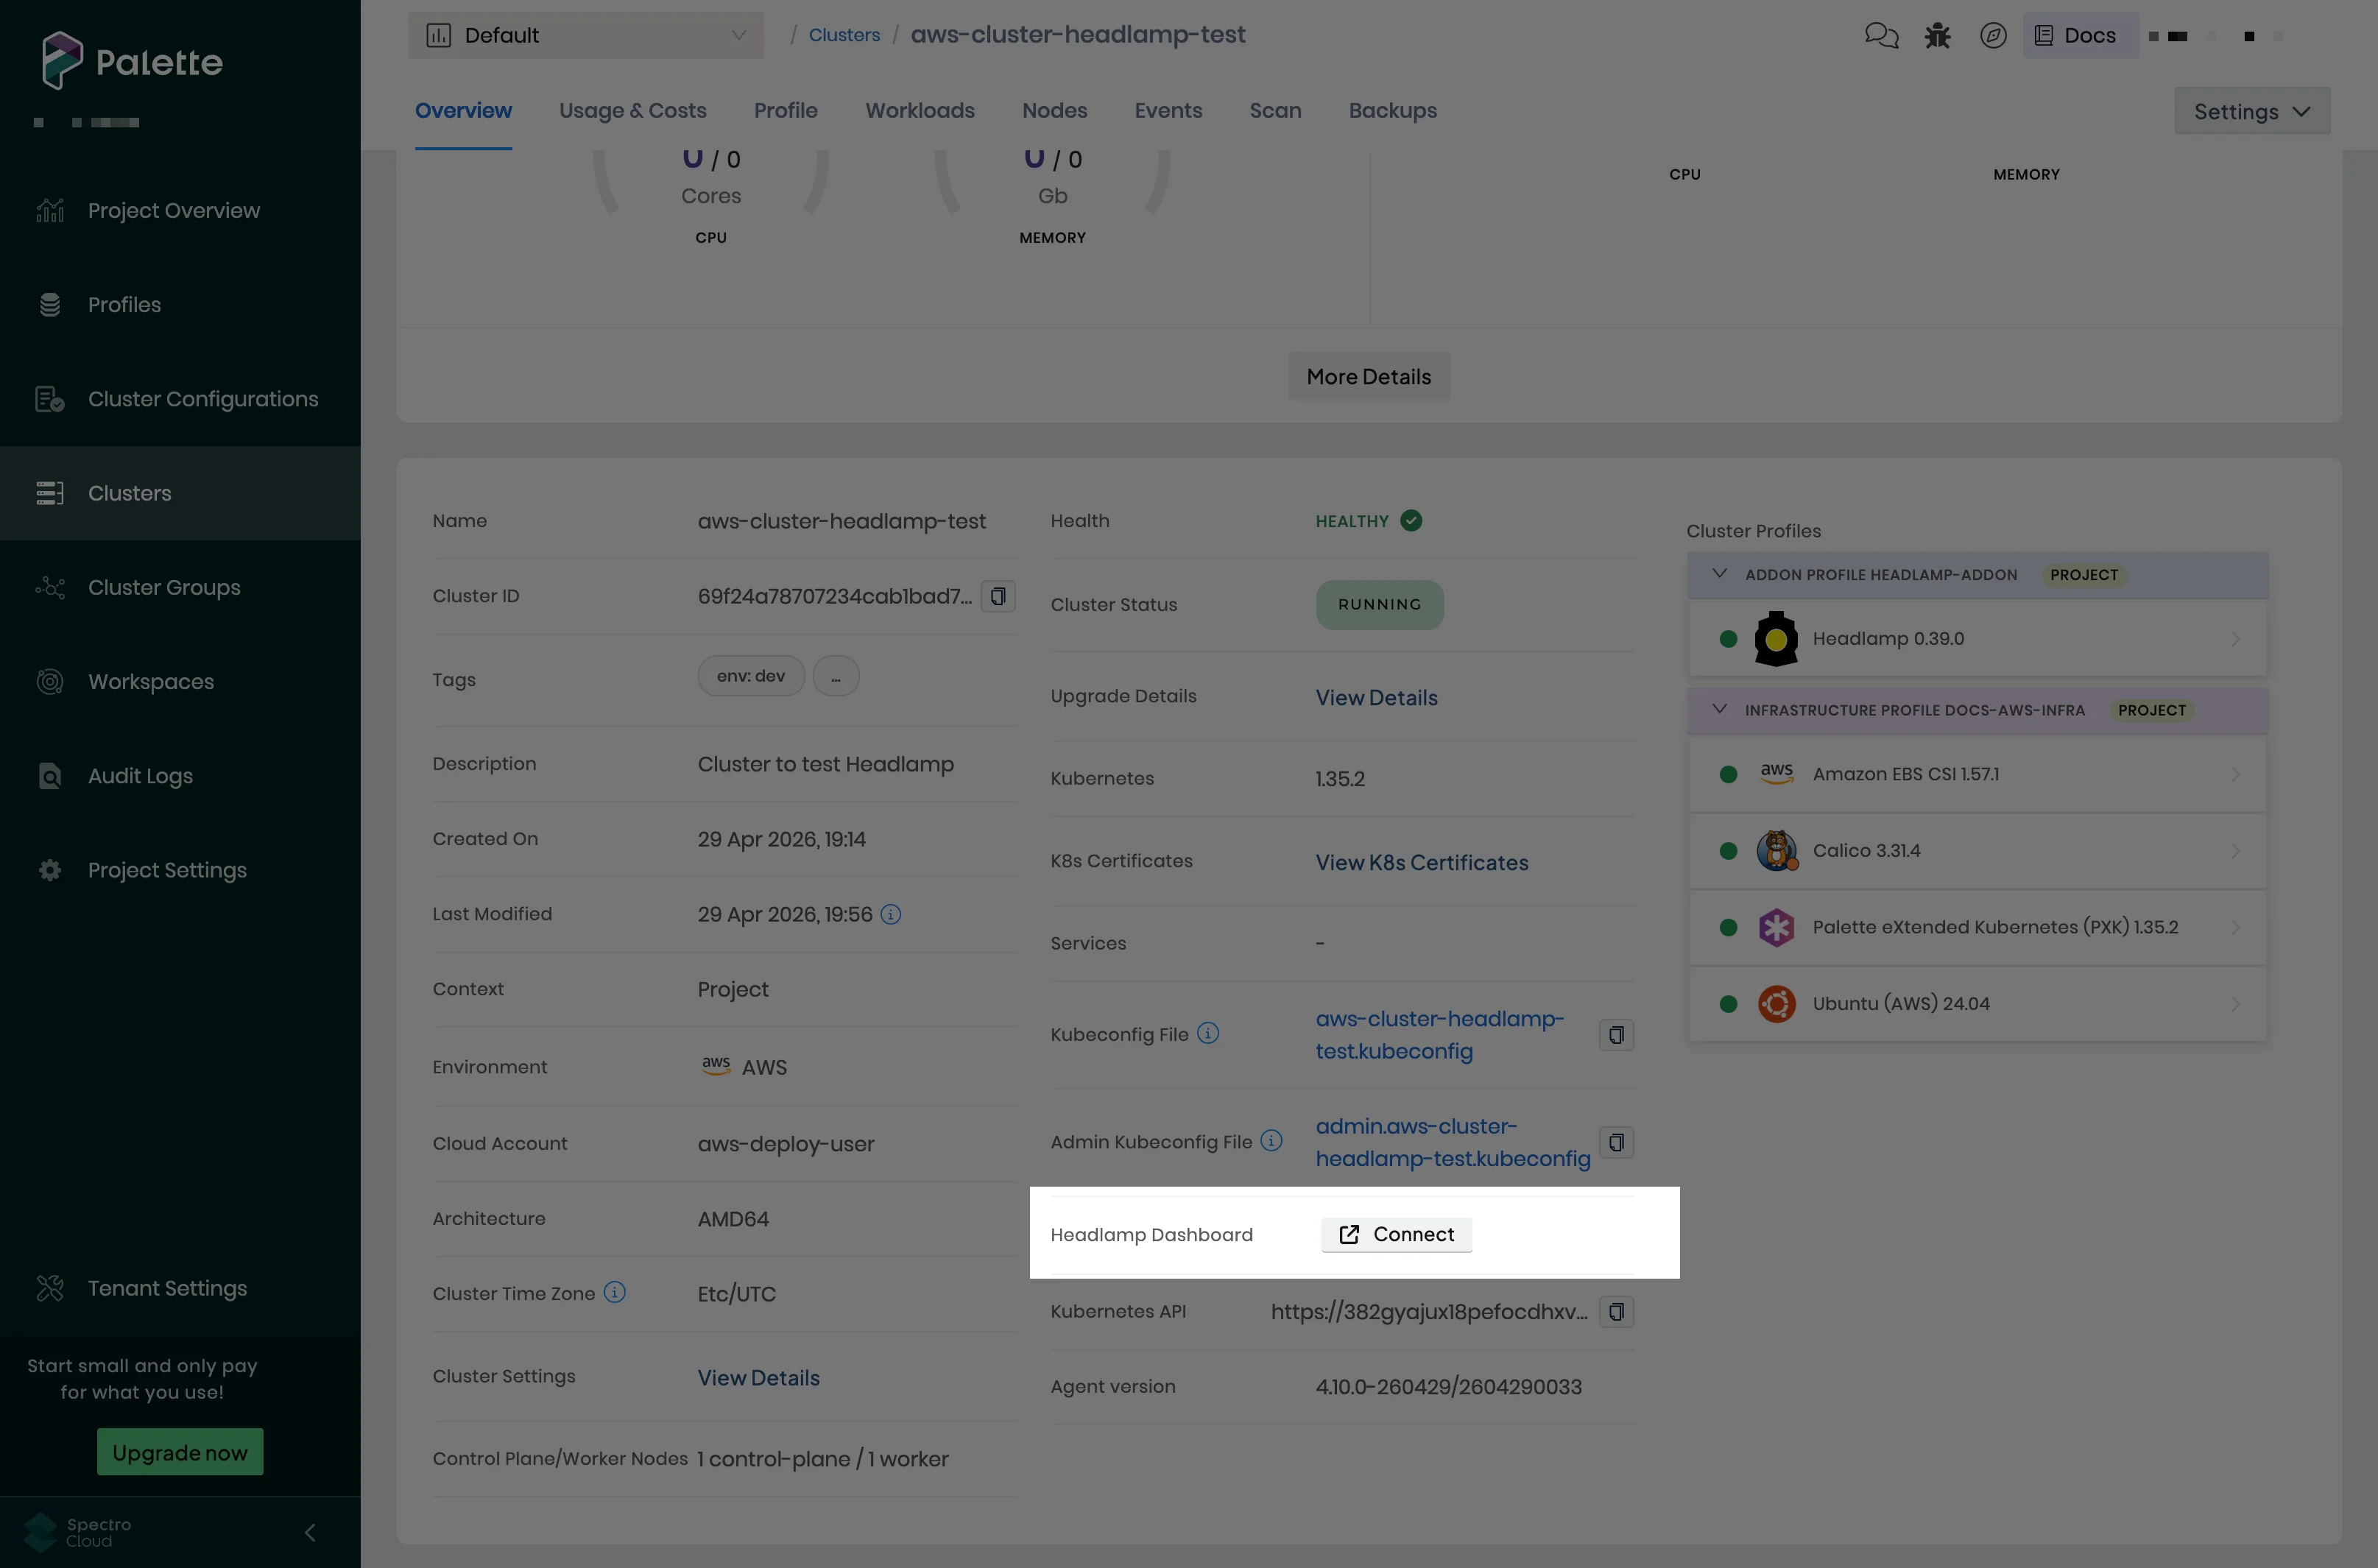
Select the Connect button from the Headlamp Dashboard row.
-
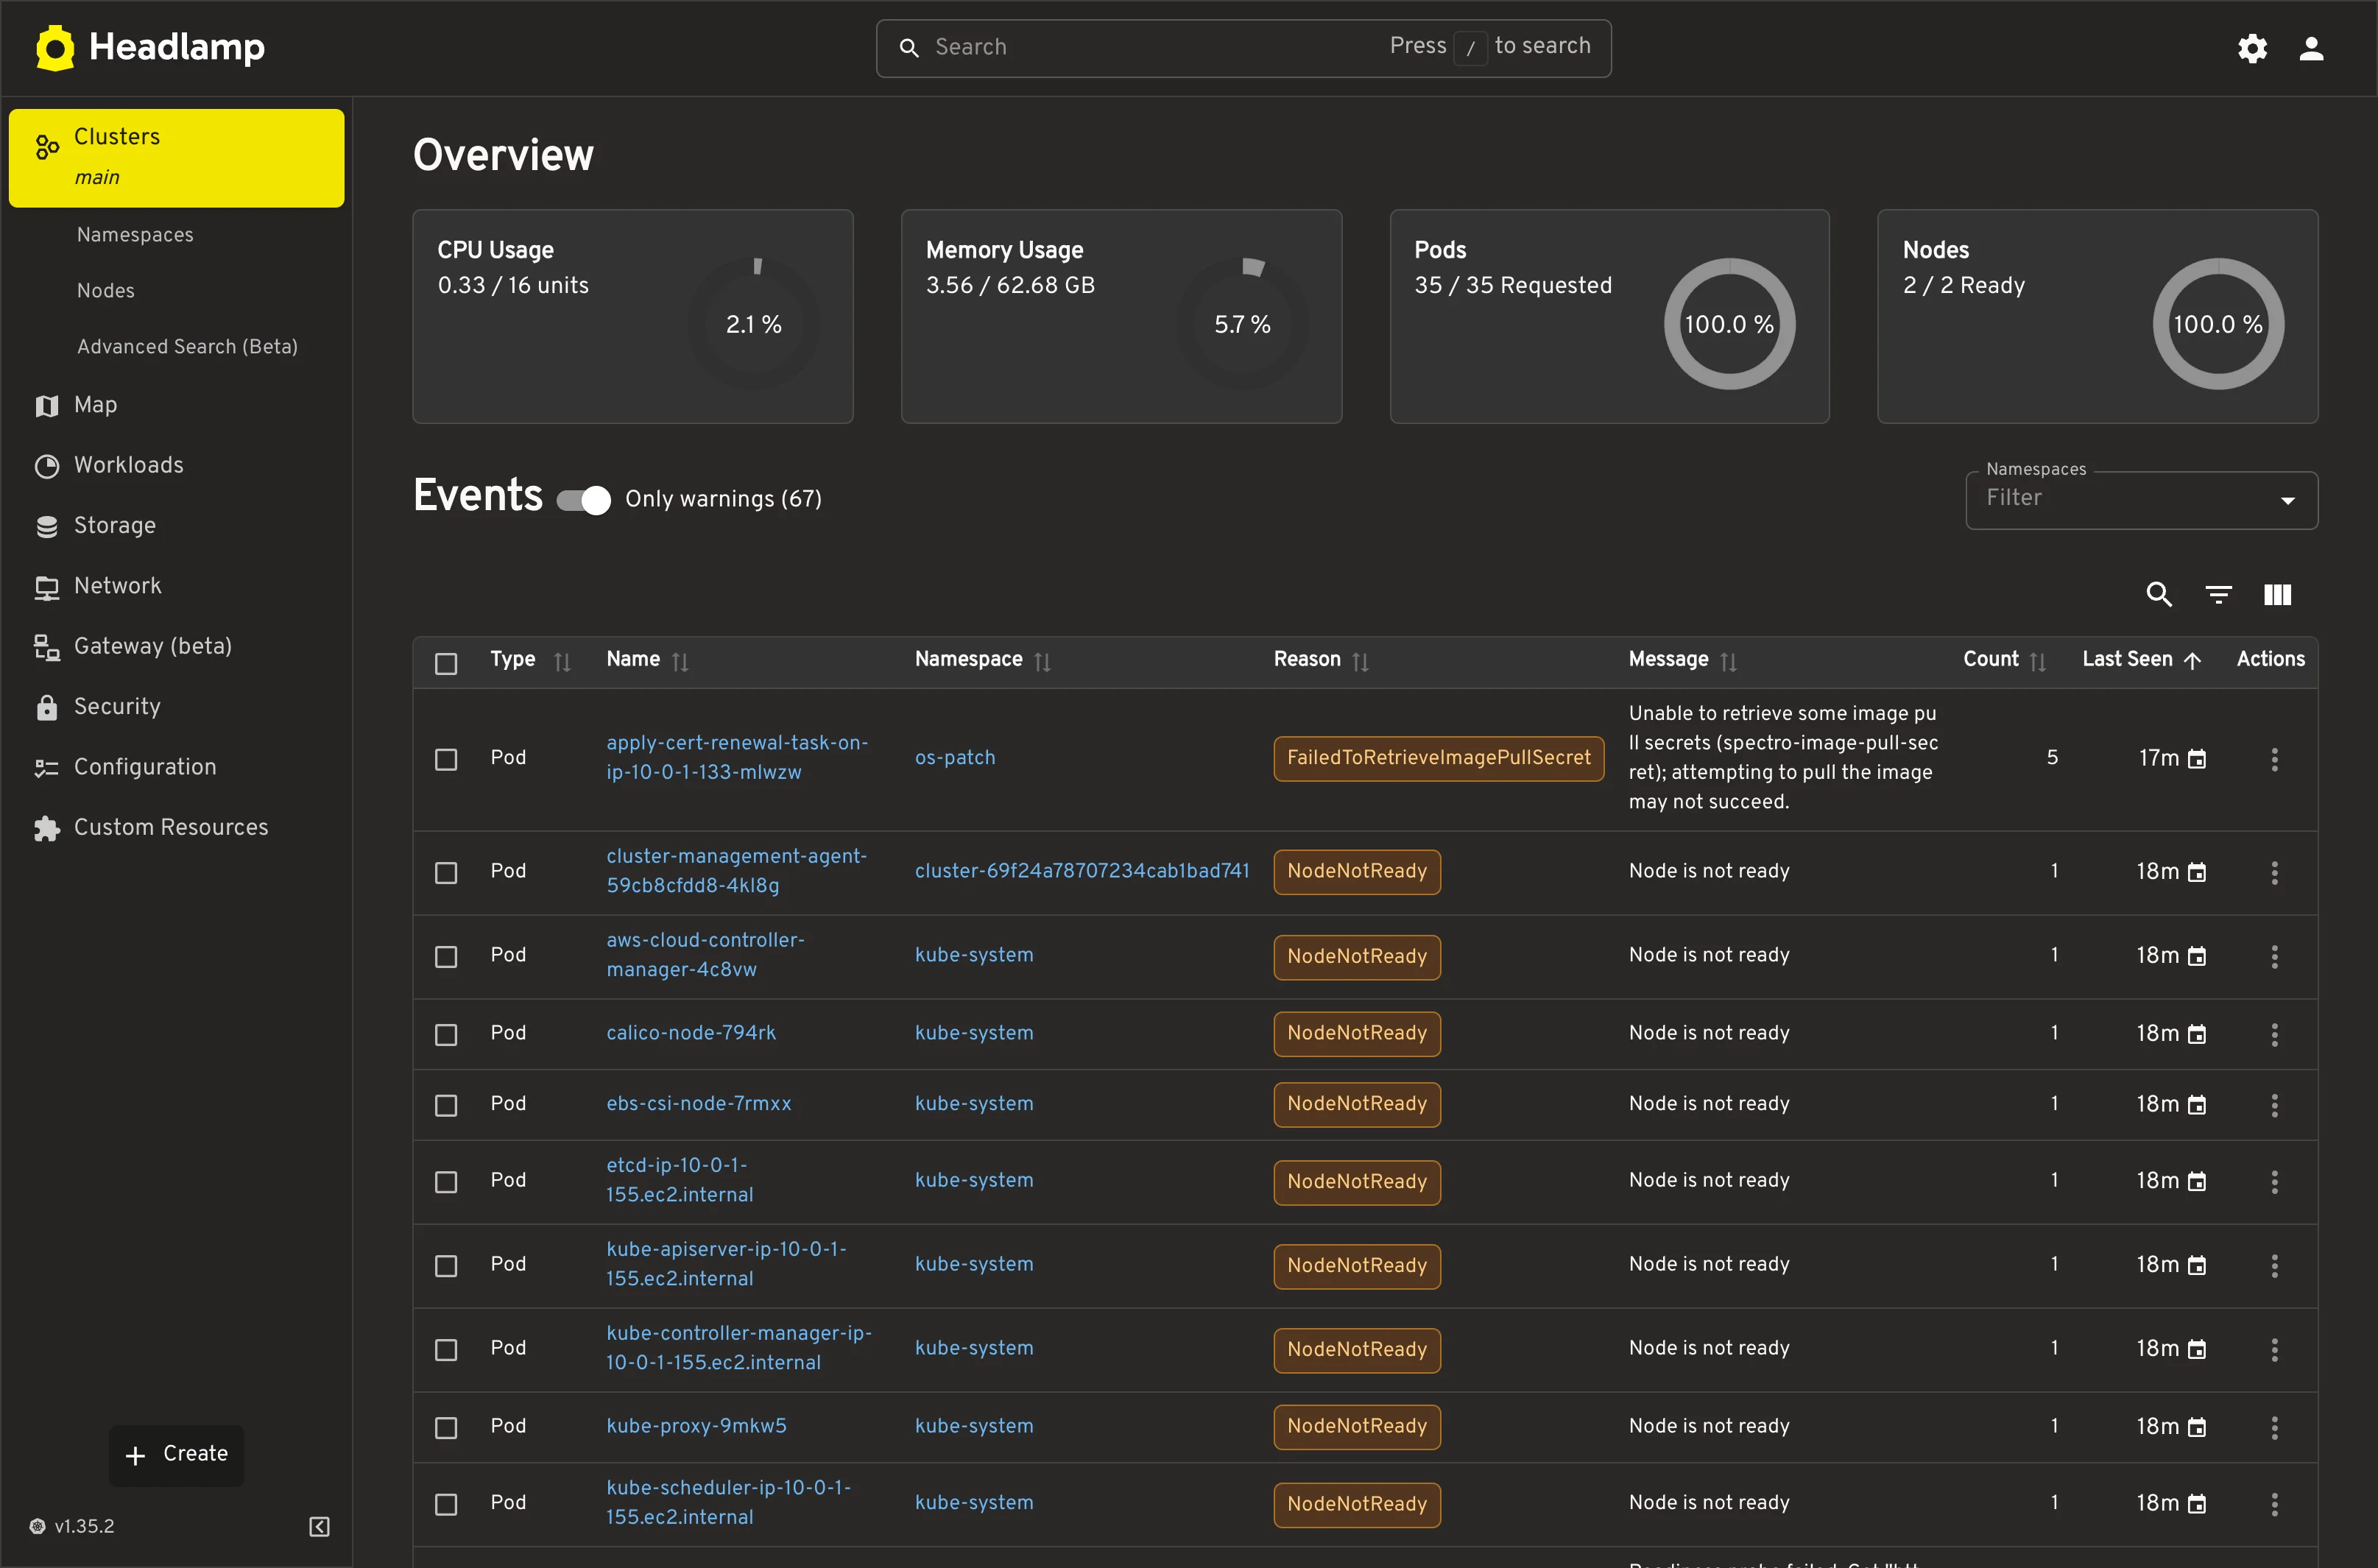
The Headlamp Dashboard is displayed.
Virtual Clusters
You can deploy Headlamp to Palette Virtual Clusters that use the Kubernetes distribution. Virtual clusters that use K3s are not supported.
Headlamp on a virtual cluster differs from Headlamp on a host cluster in the following ways:
-
In Proxied mode, Palette deploys the Spectro Proxy pack in the
defaultnamespace of the virtual cluster. -
Palette uses the first OIDC identity provider that it finds, in the following order.
-
The OIDC configuration of the virtual cluster. Refer to Configure OIDC for a Virtual Cluster.
-
The OIDC configuration of the host cluster.
-
Palette OIDC, if neither is configured.
You do not need to configure an identity provider in the virtual cluster or cluster group settings for Headlamp.
-
Prerequisites
-
A Palette Virtual Cluster that uses the Kubernetes distribution.
-
cert-manager installed in the virtual cluster. Palette installs cert-manager in virtual clusters by default, but virtual clusters created with an earlier version of Palette might not have it. If your virtual cluster does not have cert-manager, add the Cert Manager pack to it through an add-on cluster profile before you deploy Headlamp. For pack settings, refer to Cert Manager Add-On.
-
The Headlamp pack version 0.44.0.
-
(Custom identity provider only) An OIDC app in your identity provider and the OIDC values configured in the Kubernetes layer of the host cluster. To register the Headlamp redirect URI and set the pack values, refer to Configure Custom OIDC.
Configure Custom OIDC
Palette configures the Headlamp OIDC values for you when it uses the Palette or Inherit from Tenant identity provider. With a custom identity provider (the Custom option of the OIDC Identity Provider setting), you must enter the OIDC values in the Headlamp pack. The steps are the same for Proxied and Direct access.
-
In the OIDC app of your identity provider, add the following URL as a redirect URI.
https://<palette-host>/v1/tenantApps/spectroclusters/dashboard/idp/callbackReplace
<palette-host>with the hostname of your Palette instance. This URL is different from the callback URL that you use for SSO in your tenant settings. -
When you add the Headlamp pack to your add-on cluster profile, set the following OIDC values in the pack YAML.
charts:
  headlamp:
    config:
      oidc:
        clientID: "<oidc-client-id>"
        clientSecret: "<oidc-client-secret>"
        issuerURL: "<oidc-issuer-url>"
        scopes: "openid,profile,email"
        callbackURL: "https://<palette-host>/v1/tenantApps/spectroclusters/dashboard/idp/callback"
Replace
<oidc-client-id>,<oidc-client-secret>, and<oidc-issuer-url>with the client ID, client secret, and issuer URL of your OIDC app. Replace<palette-host>with the hostname of your Palette instance.
Deploy Headlamp on a Virtual Cluster
-
Follow steps 1 - 4 of Enablement to create an add-on cluster profile with the Headlamp pack. If you use a custom identity provider, set the OIDC values from Configure Custom OIDC in the pack YAML before you select Confirm & Create.
-
Create role bindings for the users who access Headlamp. The roles that you bind determine what users can view and do in Headlamp. For example, to give users full access to the virtual cluster, bind the
cluster-adminrole. Refer to Create Role Bindings. -
From the left main menu, select Clusters. Select the Virtual Clusters tab, and then select your virtual cluster.
-
Follow steps 6 - 8 of Enablement to add the Headlamp add-on cluster profile to the virtual cluster.
Validate
-
Log in to Palette.
-
From the left main menu, select Clusters. Select the Virtual Clusters tab, and then select your virtual cluster.
-
Select Connect in the Headlamp Dashboard row. The Headlamp dashboard opens.
Change the Headlamp Configuration
Some configuration changes take effect only after you reattach Headlamp. Reattach Headlamp after you change any of the following:
-
The OIDC identity provider of the host cluster.
-
The Access mode. Reattaching recreates the Headlamp service and the Connect link.
-
The OIDC values in the Headlamp pack, such as
callbackURLorclientSecret.
To reattach Headlamp, remove the Headlamp add-on cluster profile from the virtual cluster, and then add it back. Wait a few minutes for Headlamp to redeploy before you select Connect.